This was built in a hurry, its occupant was a rescue who came to us in a 40 breeder that asides from being too small was impossible to keep regulated (no duh? huh?)
I poured over everything I could about enclosures to get ideas and came up with a few of my own, picked and sorted through the garage for parts, and got some more from the hardware store. Threw it in a pile, started hacking and banging and here you go.

The fit and finish isn't up to snuff, crooked cuts and such, but Rocky doesn't seem to mind that.
STATS:
36" x 60" x 18" ... technically big enough for a 6 inch... seems too small to me, but a BIG improvement over that 40. Expansions will be coming.
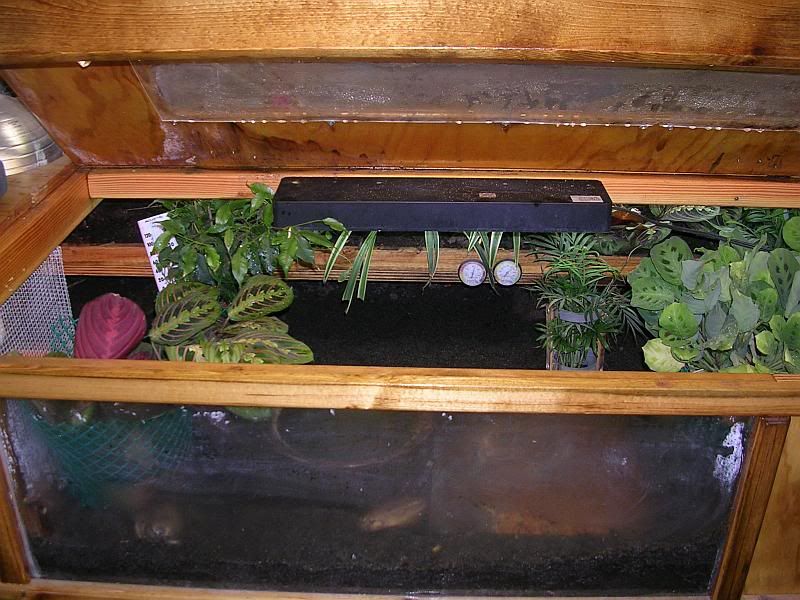
Bottom sits at 32", which gives just enough room for the dog kennel to fit underneath, the dogs were the only ones in the house willing to share floor space with rocky. The Fish were pretty skeptical. With the overbite on the lid lifting up and away as well, An average adult can reach most of the enclosure without straining.
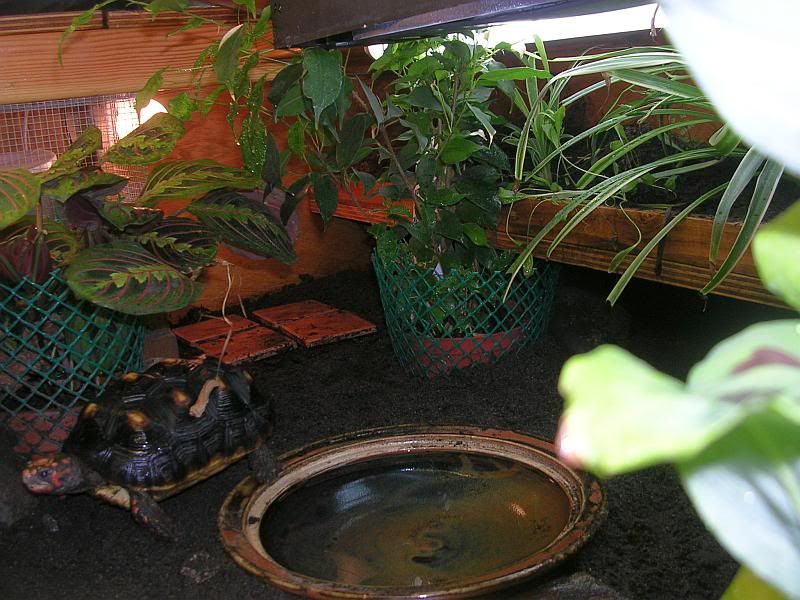
Went with bioactive substrate (no cypress mulch in these parts), at least I hope I got it right and that's what we're doing. just in case I dusted the top with Orchid Bark, which Rocky promptly ground into the dirt. Looks like someone's been driving an atv around in there. It doesn't really seem to stick to him much, stays moist but not wet. Got my fingers crossed.
I knew there was NO way we'd keep good humidity and temps in our house over the winter in an open top table, so I closed it off, but left him a skylight.

There are 80mm PC fans in opposing corners. I soon realized even that was too much flow, so only the intake runs non-stop and its throttled way down. Its ducted into the intake of a Vick's Humidifer under its own cover at one end.

This way the incoming air is heated, humidified and diffused. This also seems to really improve the efficiency of the humidifier, you get less steam and condensation, and more actual humidity. Originally I was going to put it under the table, and think I'll move it there eventually, this just seemed easier at the time. I wasn't sure if this would be enough, but it does alright. On the low setting the water tank lasts a long time (all day), and it only requires occasional help from the manual mister, and as it turns out does most of the heating for the enclosure. The High setting was too much, lotsa condensation and the tank goes too quick.
I wound up turning the opposing fan around and putting it on a Cooling Mode Thermostat. If the Cool End Temps get too high it kicks in and reverses the airflow bringing in some of the cooler, humid air from above the fishtanks. When this is running, (which is seldom) is the only time there might be a perceptible breeze inside the enclosure, but it is somewhat isolated from the "forest floor" as it sits atop that shelf (the top of his hides). The Pansies get it full tilt though, but I think they may like that, really not their kinda conditions in the enclosure.
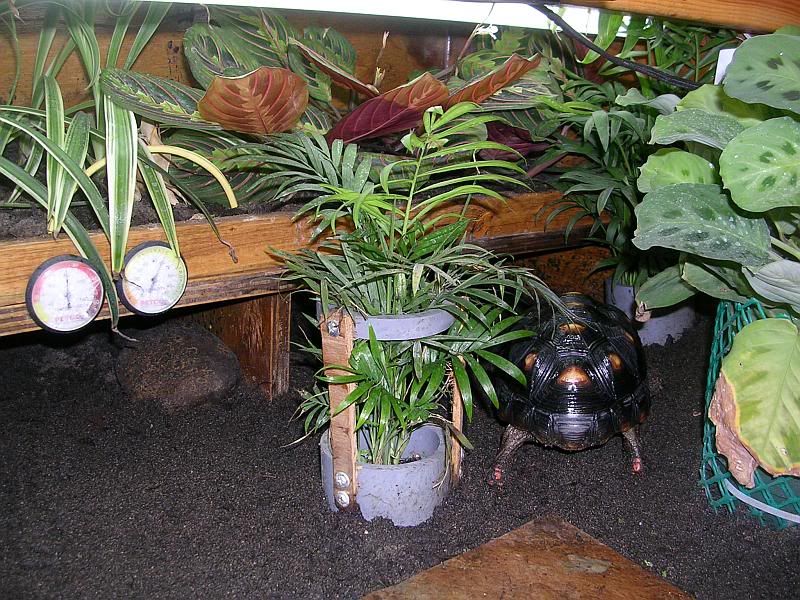
I had read about hides should be cool end, hides should be hot end, who knows? so I put Hide all along the back (with little dividers to break up the climates)

and planted the top of the hide to aid in climate control and food production.

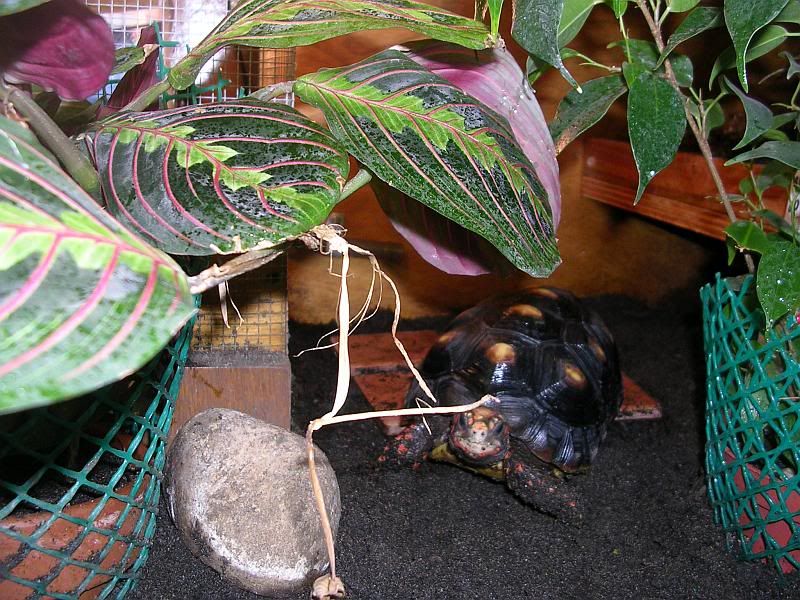
And sure enough, hot side people you're right... and cold side people, you're right. And those that stick it in the middle, you're right too. Rocky uses the whole length throughout the day. But then sometimes he naps under the day lilly, and sometimes the palm, and frequently ON the fern. He loves to squash ferns :-(
There's a single 40W T12 Daylight Deluxe buried up in the top, mostly directed at the hide-top gardens only a little filters down to the floor, and hopefully less will soon if the palms grow before Rocky bulldozes them to death.
It had seemed like a good idea at the time, but really I needed to make the enclosure taller to get the most benefit, the plants are pretty cramped in there.
I had bought a big ol 150 watt ceramic to heat the hot end, but turns out that was way too much. The humidifier handles most of that, and a 75 watt halogen gets it just a little too warm over there. Will wind up putting something on a thermostat eventually.
Rocky is very excited about the orchards way up top. Hopefully those will do well and more of those yummy flowers will be coming his way. No space is wasted in this small house. (and yes, not all of that is food)

Here's Rocky's favorite view, from on top of fern hill.

Any comments, questions, suggestions, what the heck ya thinging!!!s appreciated. As I said, This was my first, and threw it together in a hurry.
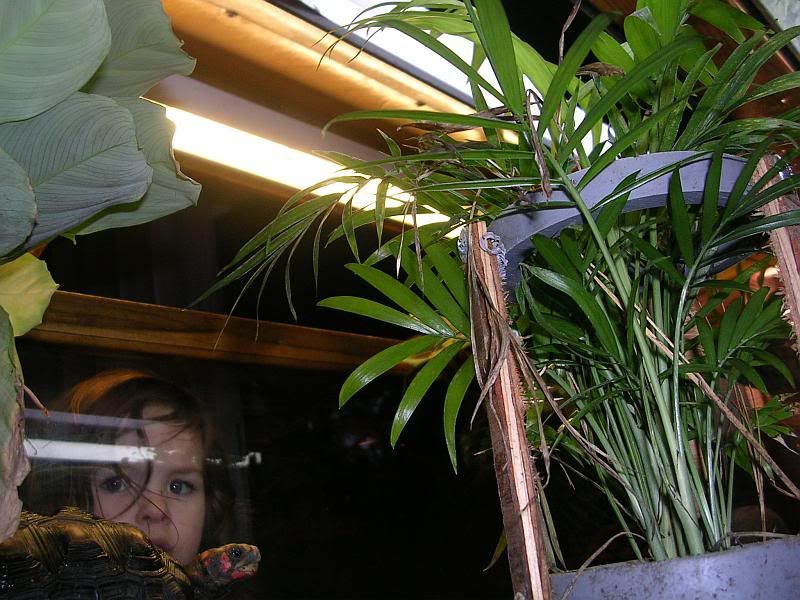
Say Goodbye to our guests Rocky

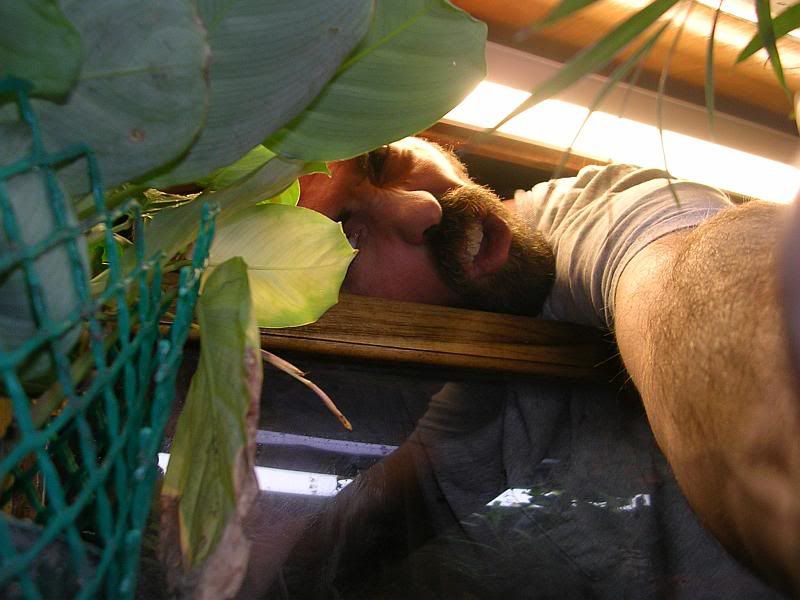
"Gee a little privacy please"
I poured over everything I could about enclosures to get ideas and came up with a few of my own, picked and sorted through the garage for parts, and got some more from the hardware store. Threw it in a pile, started hacking and banging and here you go.
The fit and finish isn't up to snuff, crooked cuts and such, but Rocky doesn't seem to mind that.
STATS:
36" x 60" x 18" ... technically big enough for a 6 inch... seems too small to me, but a BIG improvement over that 40. Expansions will be coming.
Bottom sits at 32", which gives just enough room for the dog kennel to fit underneath, the dogs were the only ones in the house willing to share floor space with rocky. The Fish were pretty skeptical. With the overbite on the lid lifting up and away as well, An average adult can reach most of the enclosure without straining.
Went with bioactive substrate (no cypress mulch in these parts), at least I hope I got it right and that's what we're doing. just in case I dusted the top with Orchid Bark, which Rocky promptly ground into the dirt. Looks like someone's been driving an atv around in there. It doesn't really seem to stick to him much, stays moist but not wet. Got my fingers crossed.
I knew there was NO way we'd keep good humidity and temps in our house over the winter in an open top table, so I closed it off, but left him a skylight.
There are 80mm PC fans in opposing corners. I soon realized even that was too much flow, so only the intake runs non-stop and its throttled way down. Its ducted into the intake of a Vick's Humidifer under its own cover at one end.
This way the incoming air is heated, humidified and diffused. This also seems to really improve the efficiency of the humidifier, you get less steam and condensation, and more actual humidity. Originally I was going to put it under the table, and think I'll move it there eventually, this just seemed easier at the time. I wasn't sure if this would be enough, but it does alright. On the low setting the water tank lasts a long time (all day), and it only requires occasional help from the manual mister, and as it turns out does most of the heating for the enclosure. The High setting was too much, lotsa condensation and the tank goes too quick.
I wound up turning the opposing fan around and putting it on a Cooling Mode Thermostat. If the Cool End Temps get too high it kicks in and reverses the airflow bringing in some of the cooler, humid air from above the fishtanks. When this is running, (which is seldom) is the only time there might be a perceptible breeze inside the enclosure, but it is somewhat isolated from the "forest floor" as it sits atop that shelf (the top of his hides). The Pansies get it full tilt though, but I think they may like that, really not their kinda conditions in the enclosure.
I had read about hides should be cool end, hides should be hot end, who knows? so I put Hide all along the back (with little dividers to break up the climates)
and planted the top of the hide to aid in climate control and food production.
And sure enough, hot side people you're right... and cold side people, you're right. And those that stick it in the middle, you're right too. Rocky uses the whole length throughout the day. But then sometimes he naps under the day lilly, and sometimes the palm, and frequently ON the fern. He loves to squash ferns :-(
There's a single 40W T12 Daylight Deluxe buried up in the top, mostly directed at the hide-top gardens only a little filters down to the floor, and hopefully less will soon if the palms grow before Rocky bulldozes them to death.
It had seemed like a good idea at the time, but really I needed to make the enclosure taller to get the most benefit, the plants are pretty cramped in there.
I had bought a big ol 150 watt ceramic to heat the hot end, but turns out that was way too much. The humidifier handles most of that, and a 75 watt halogen gets it just a little too warm over there. Will wind up putting something on a thermostat eventually.
Rocky is very excited about the orchards way up top. Hopefully those will do well and more of those yummy flowers will be coming his way. No space is wasted in this small house. (and yes, not all of that is food)
Here's Rocky's favorite view, from on top of fern hill.
Any comments, questions, suggestions, what the heck ya thinging!!!s appreciated. As I said, This was my first, and threw it together in a hurry.
Say Goodbye to our guests Rocky
"Gee a little privacy please"
Last edited by a moderator:
")