MarginatedMooney
Well-Known Member
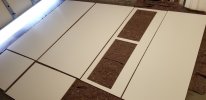
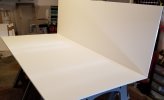
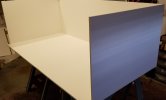
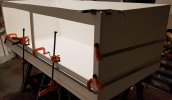
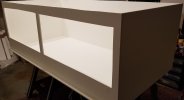
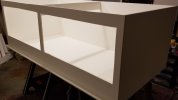
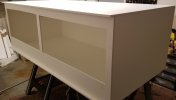
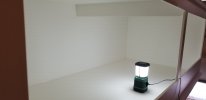
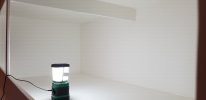
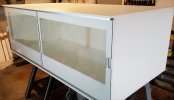
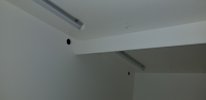
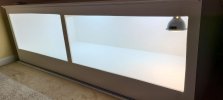
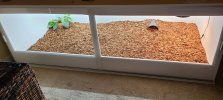
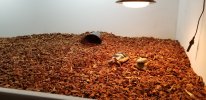
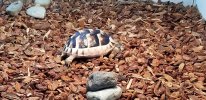
Yesterday I started working on building Phil's new enclosure. It's based on @Sterant 's sticky thread and it's going to be 6'x3'x2'.
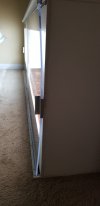
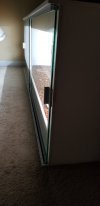
So far, I've cut out all the pieces and sanded down the edges. Next, I'm going to attempt to glue them together with pvc glue. Fingers crossed they'll fit together and the glue holds. ?
So far, I've cut out all the pieces and sanded down the edges. Next, I'm going to attempt to glue them together with pvc glue. Fingers crossed they'll fit together and the glue holds. ?