JokingYeti
New Member
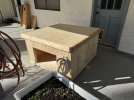
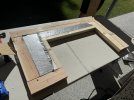
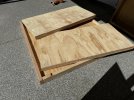
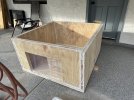
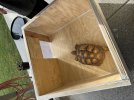
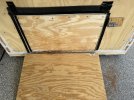
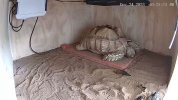
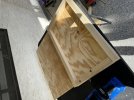
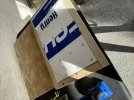
This fall we made an insulated night box but did not follow Tom’s design exactly.. we essentially made a bunch of insulated panels then attached all the panels together. I now see why Tom builds his the more difficult way. We have a 80w radiant heat panel with a Kane heat mat on an INKBIRD thermostat. We have been aiming for 83 degrees internal which it maintains until the morning lows get around 38-40 degrees. When the morning lows hit that range the internal box temp dips to around 77-78. I’m a bit worried as we will have temps down around 32 next week. My question is: can we add a bigger radiant heat panel to overcome the poorly made night box or do we need to start over? Or maybe a mini oil heater would be better? See attached pics for reference.