Happydomes
New Member
- Joined
- Aug 7, 2015
- Messages
- 9
Hi
I've been building a new home for my sulcatas as they have been getting a bit big to move indoors and out what with the irregularities and inconsistencies of the weather in the UK.
As I put on anther thread, my key considerations when building this were the cost of heating, the space I could give them, the access to natural UV light during the 9months of the year it is too cold for them to wander freely outside and it also had to be a nice place for us to visit them.
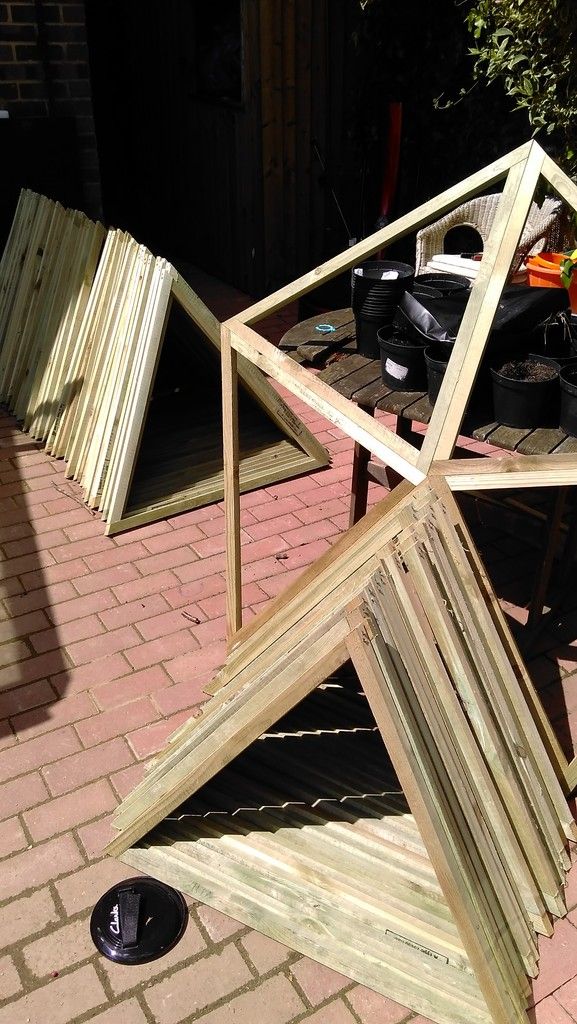
To this end I have gone for a geodesic dome design, which should hopefully cost a third less to heat, and also looks attractive in the garden.
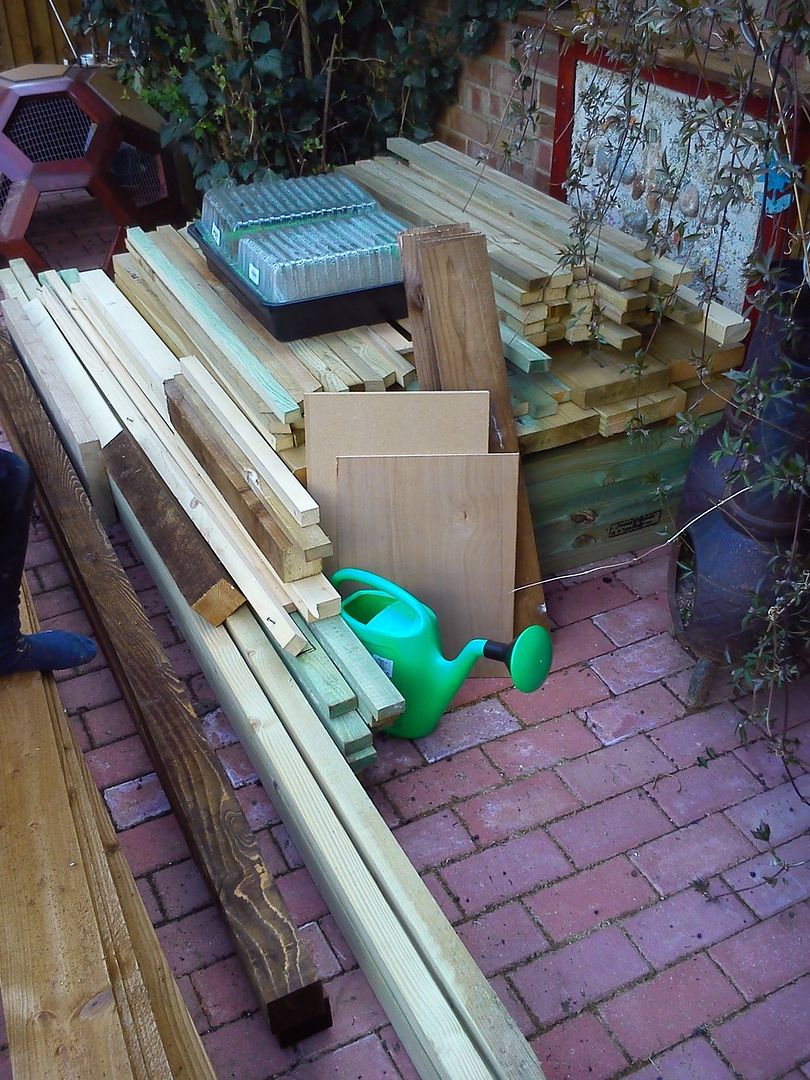
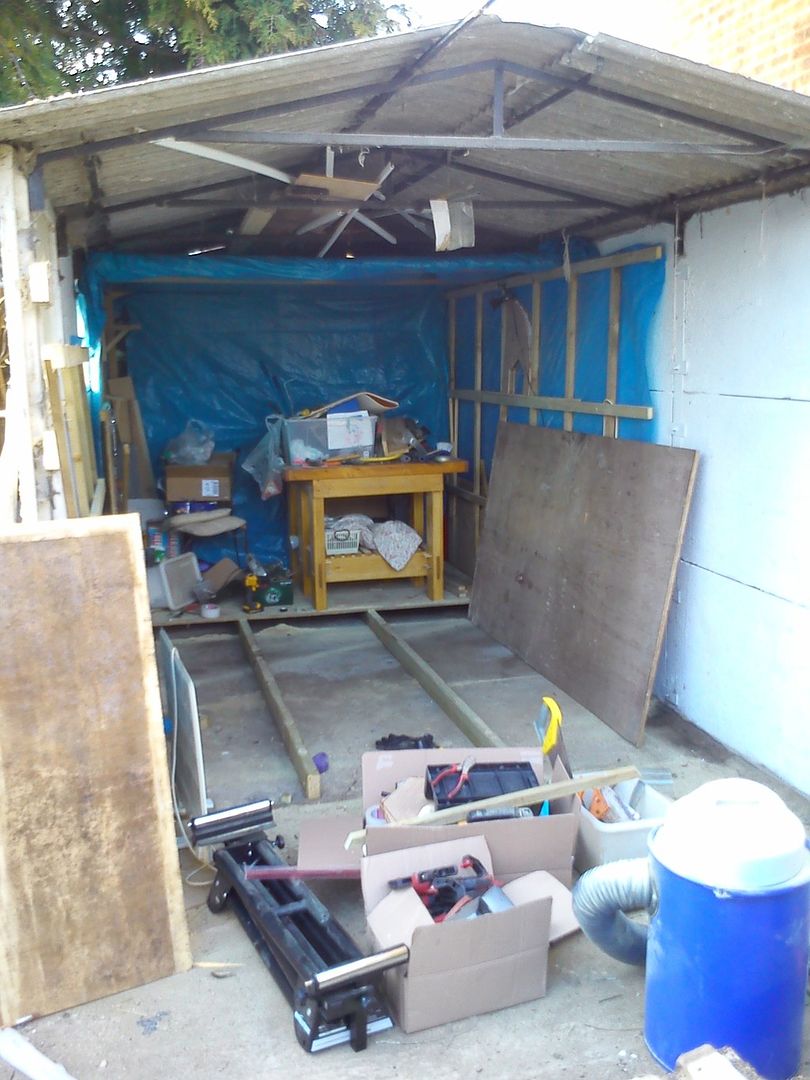
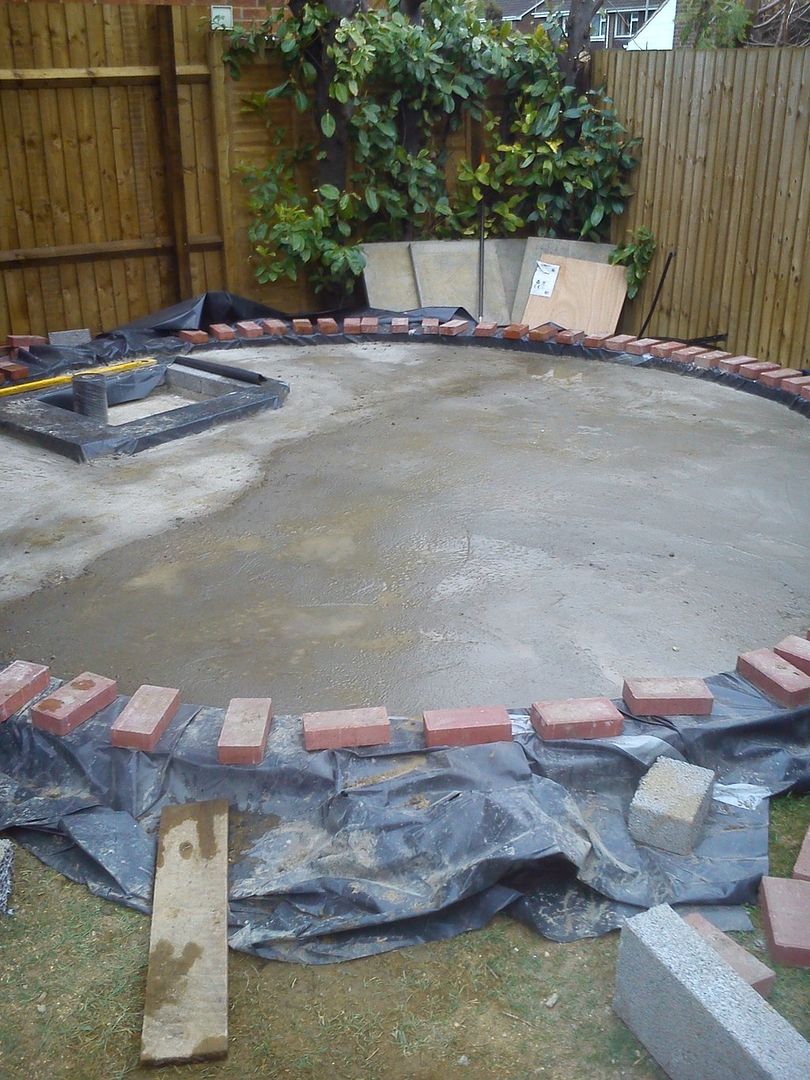
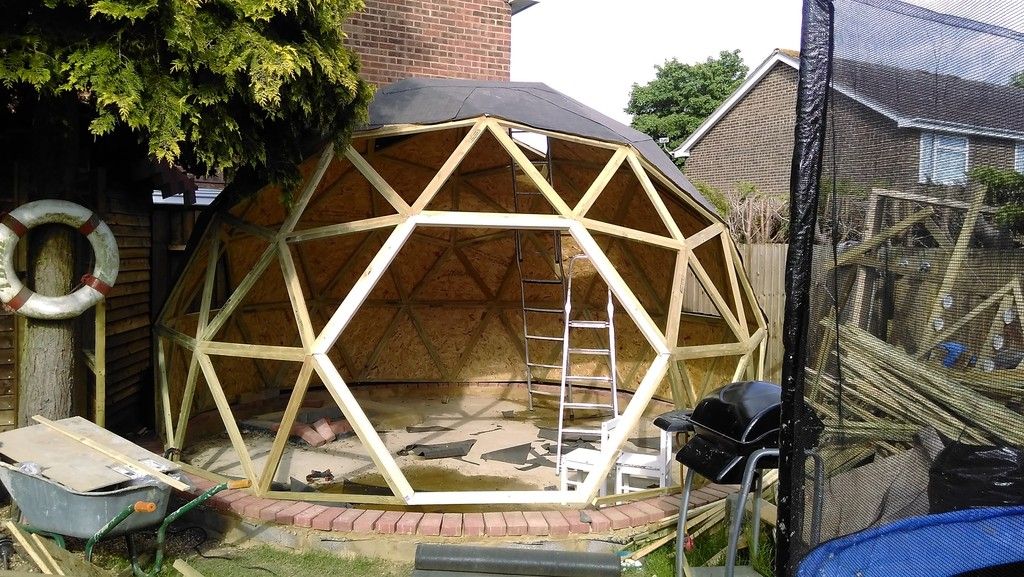
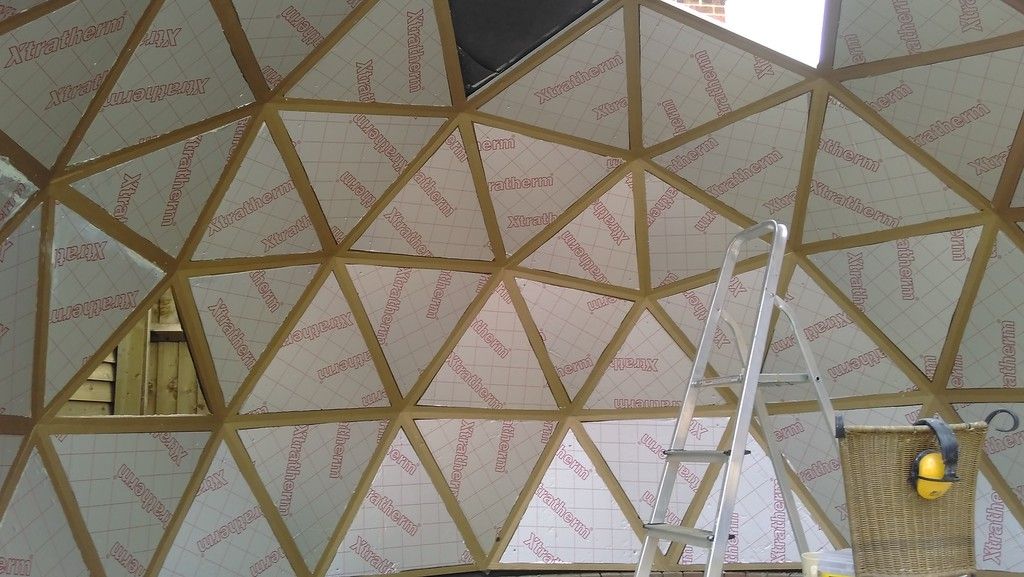
I've made the frame for the main enclosure and have added underfloor heating, loads of insulation and have made the whole thing completely watertight. It's taken about 3 months to get it to this stage, building it from scratch, and I'm just about to finish the external work sometime later this week, when I add the roof shingles (which arrived yesterday).
Next week I start to get it prepped up for adding the tortoise equipment. So I'll be finishing off their sleeping hide and adding barriers to the lowest Windows so they can't see through.
I'll post up a few pictures as I move towards completion, and any advice you can give regarding things I should do to give the best environment I can would be most appreciated.
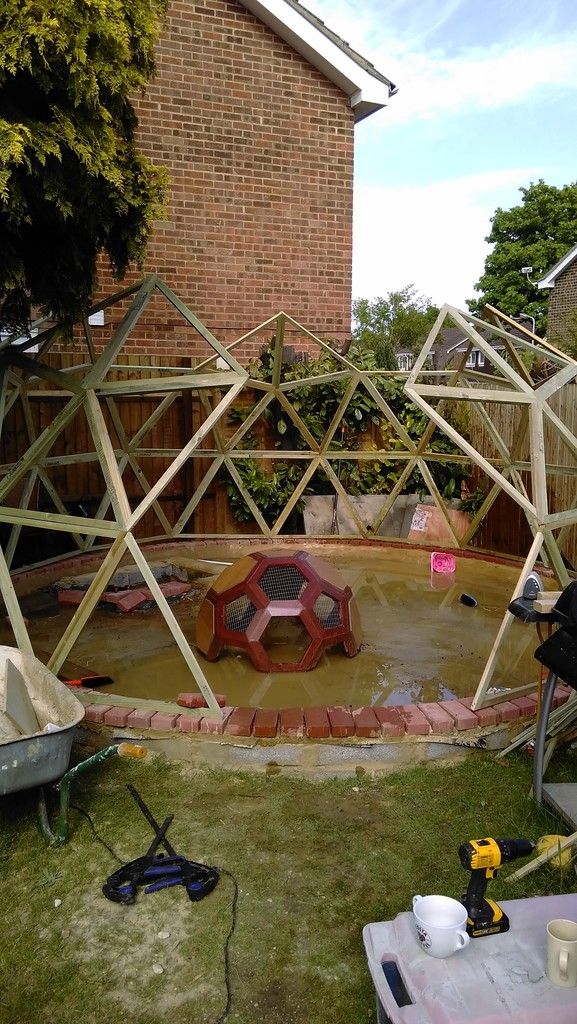
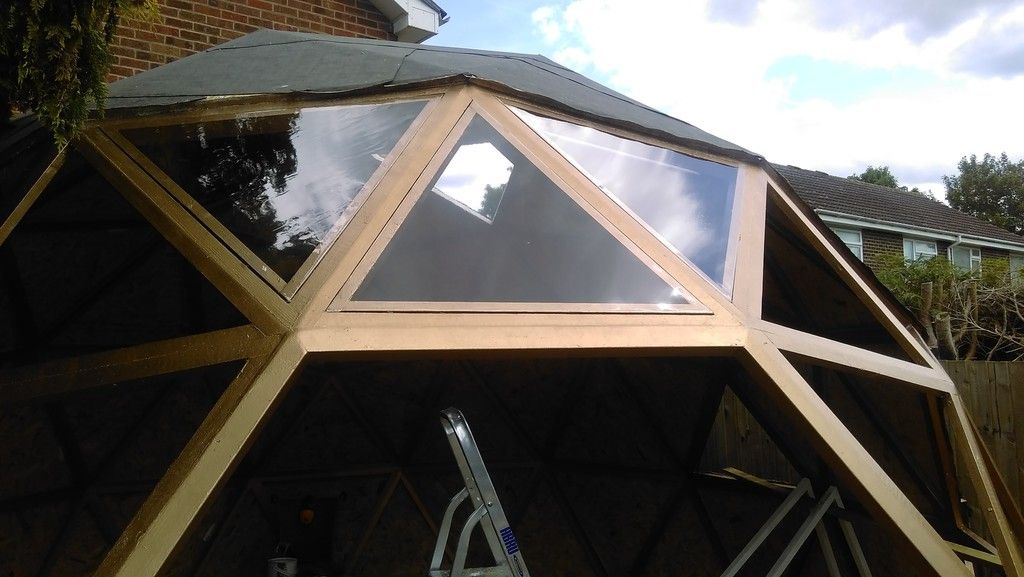
Anyway, here are a few pics of the dome as it currently stands.
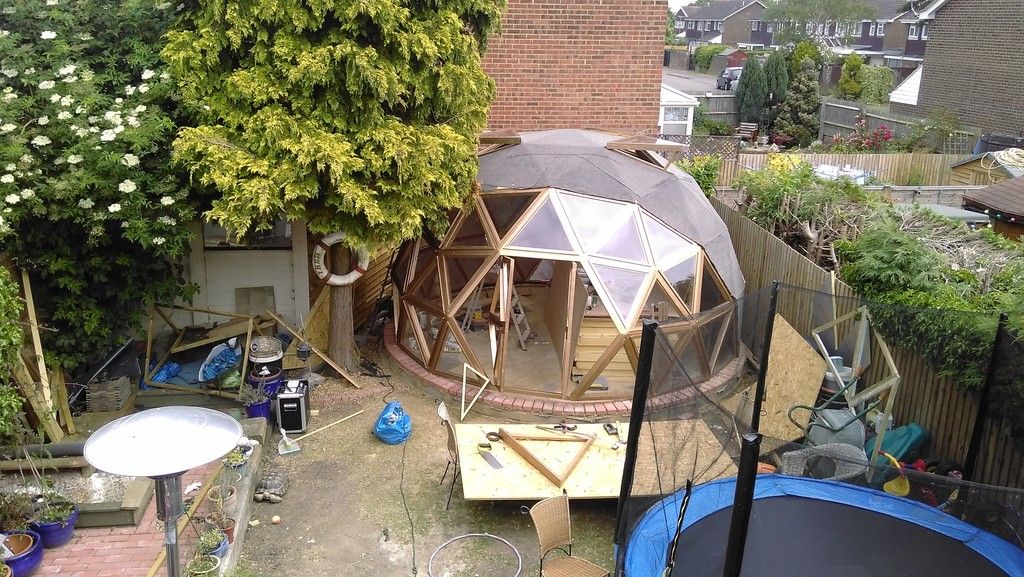
A view from above
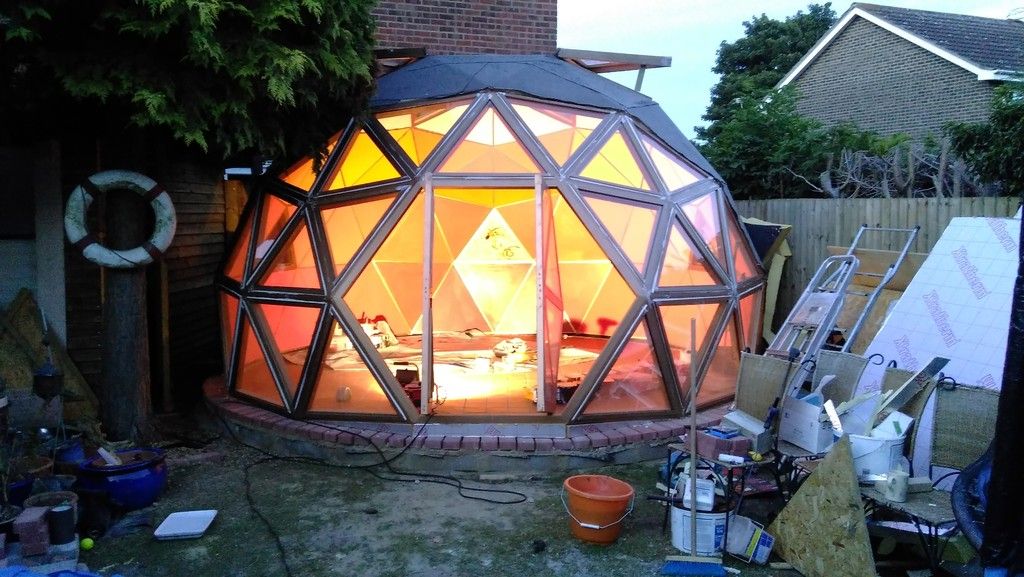
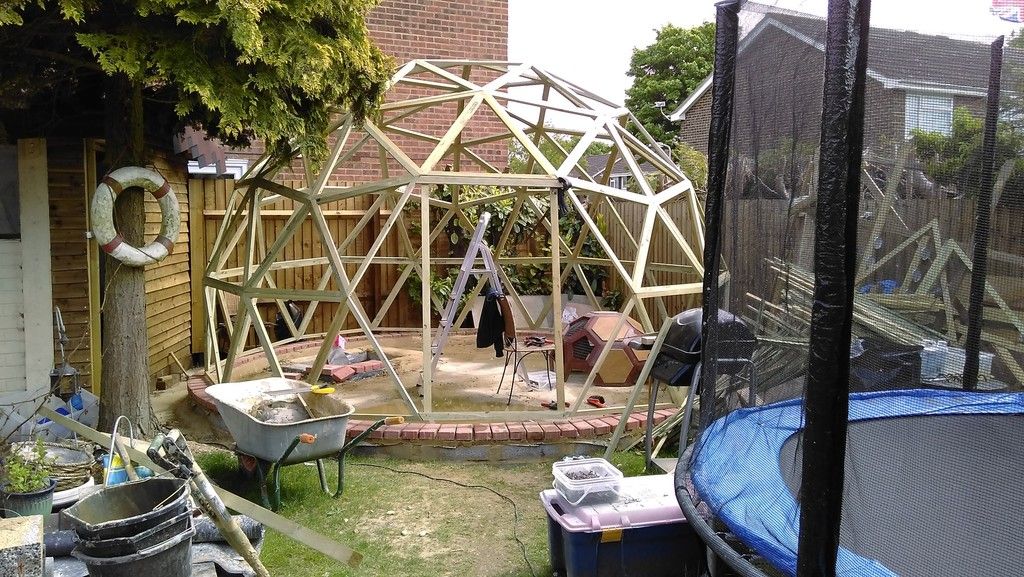
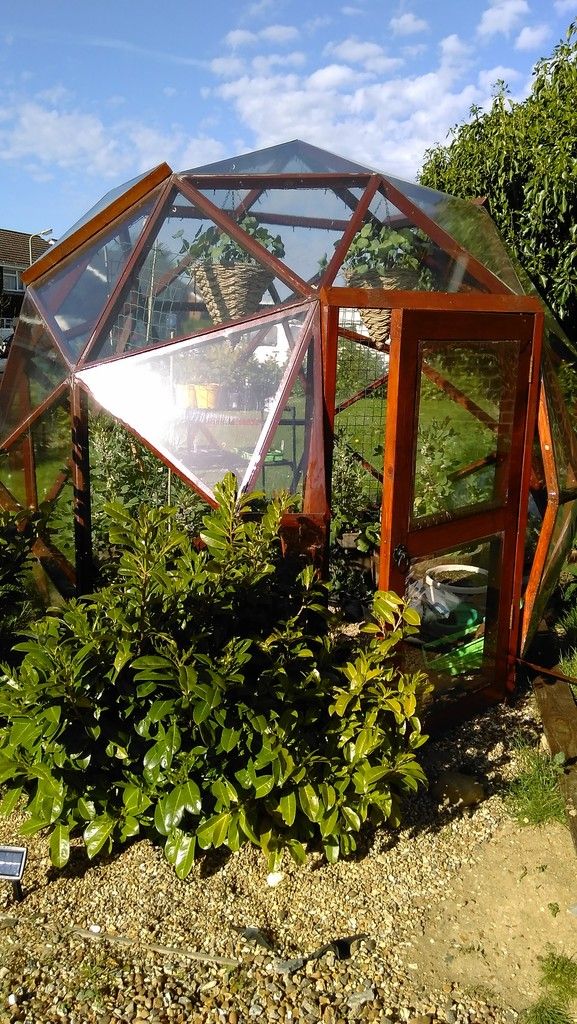
Front on
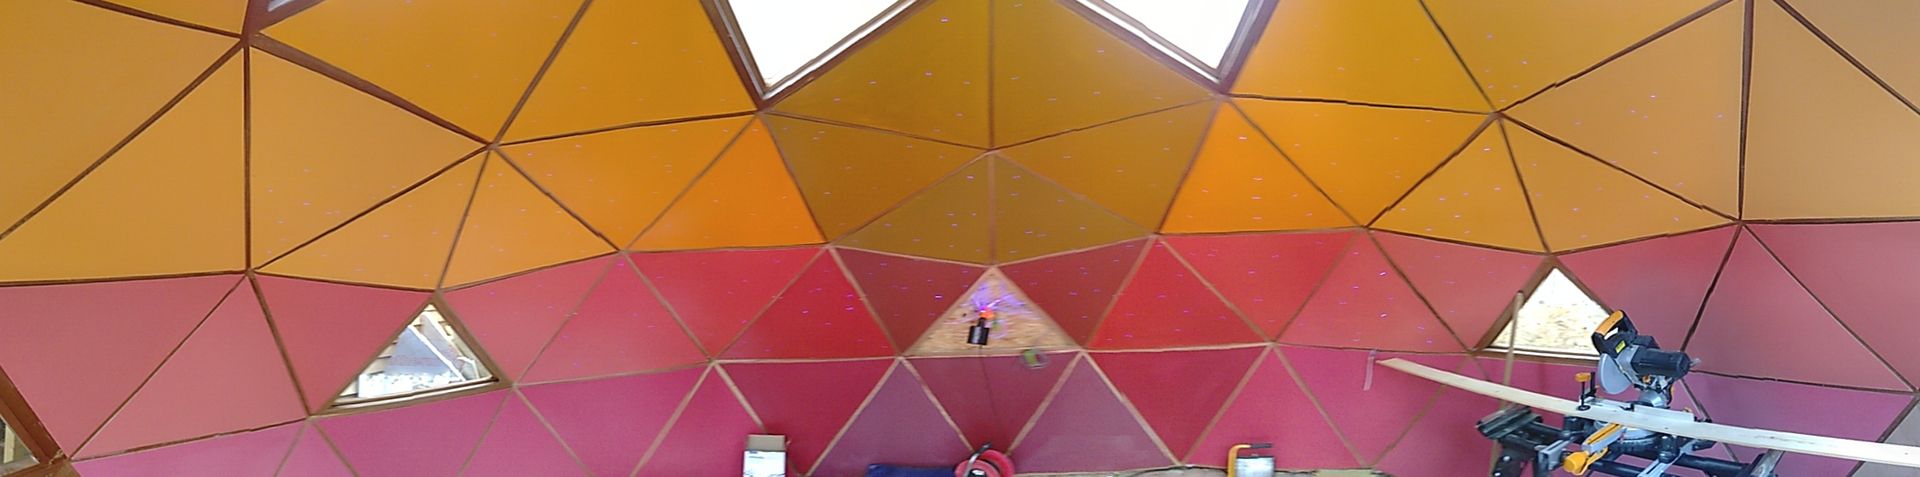
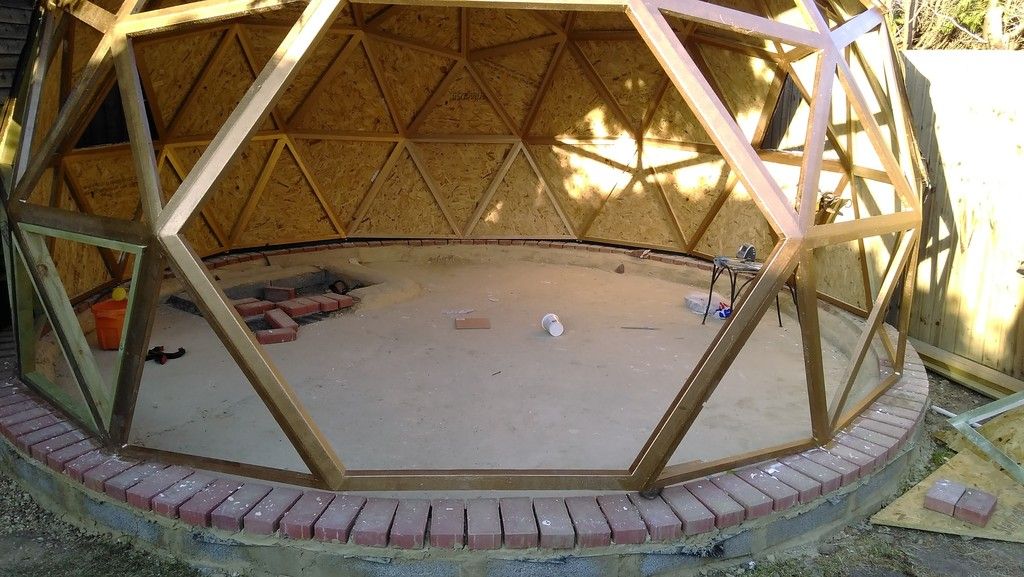
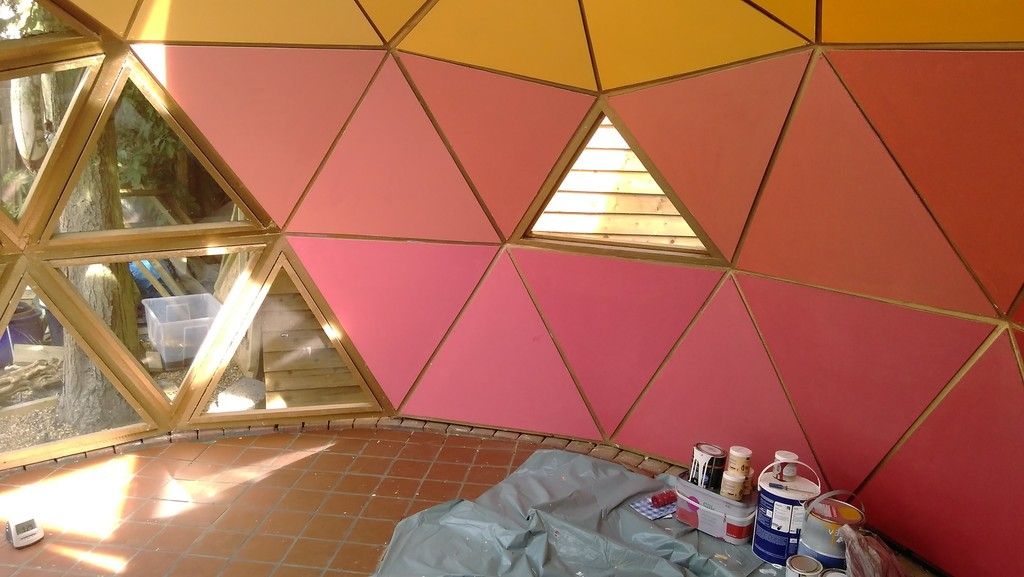
The inside in daytime
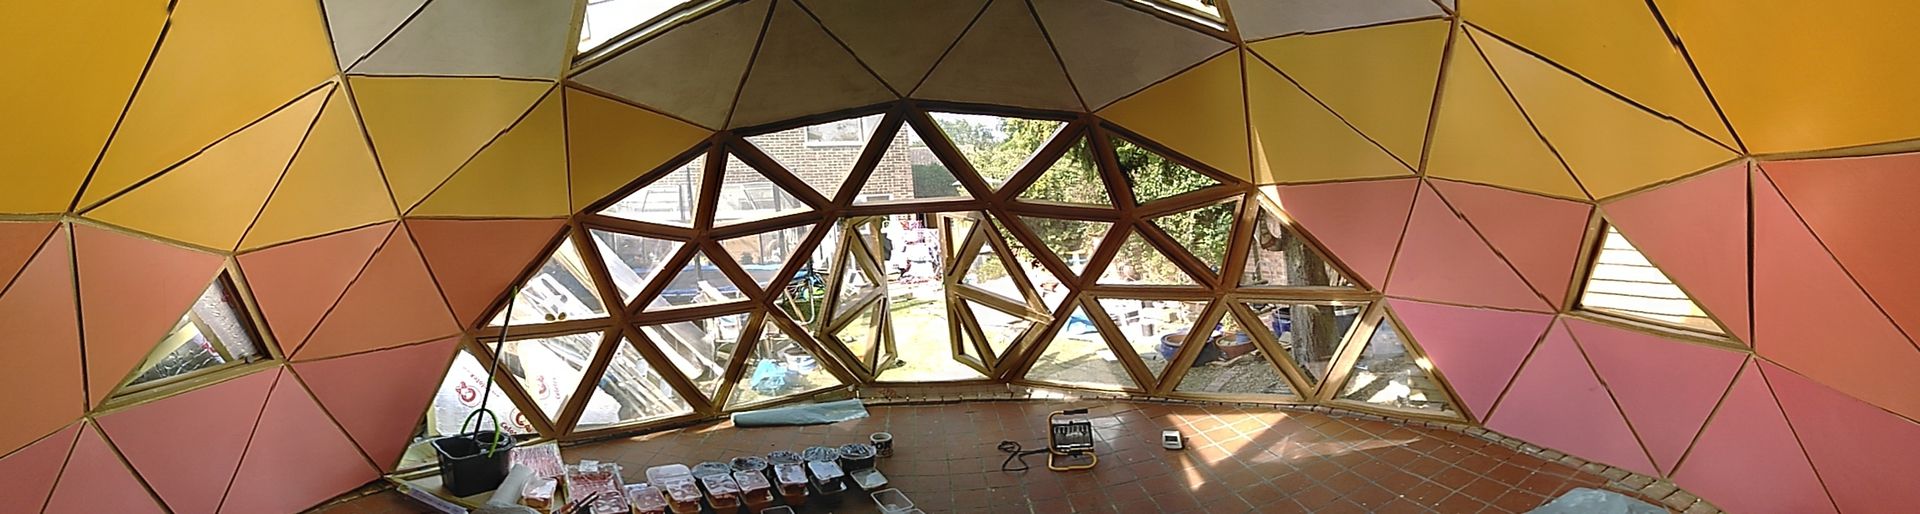
And the other way round....facing front.
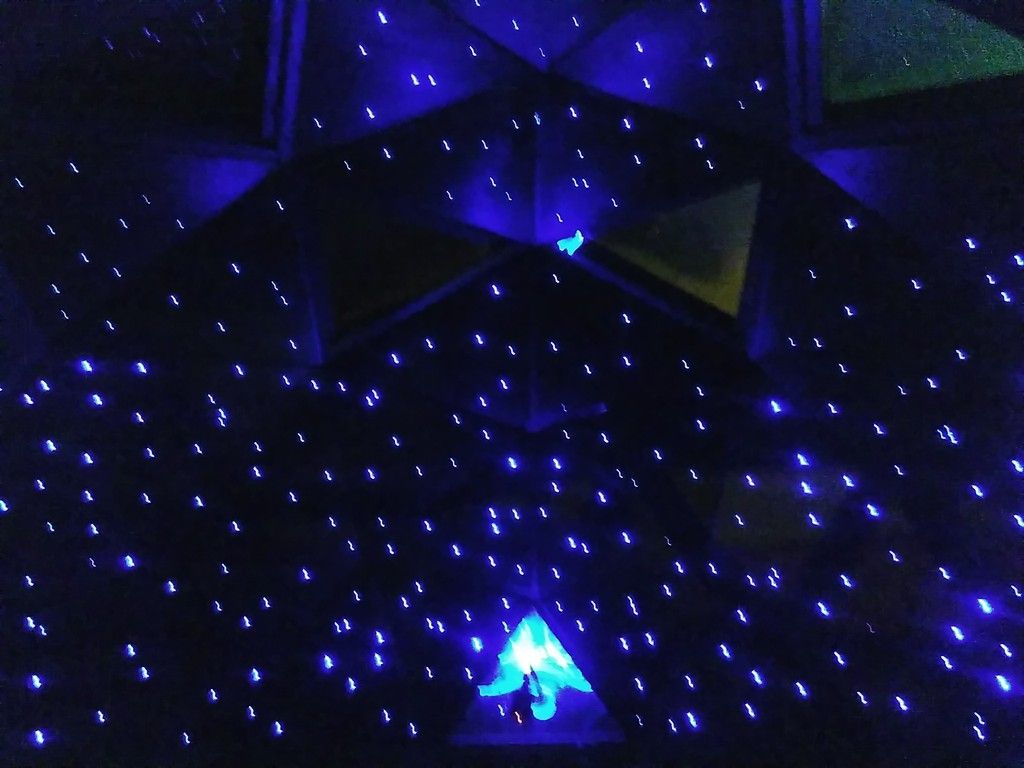
The inside at night. Fibre optic stars give the dome a cool evening glow.
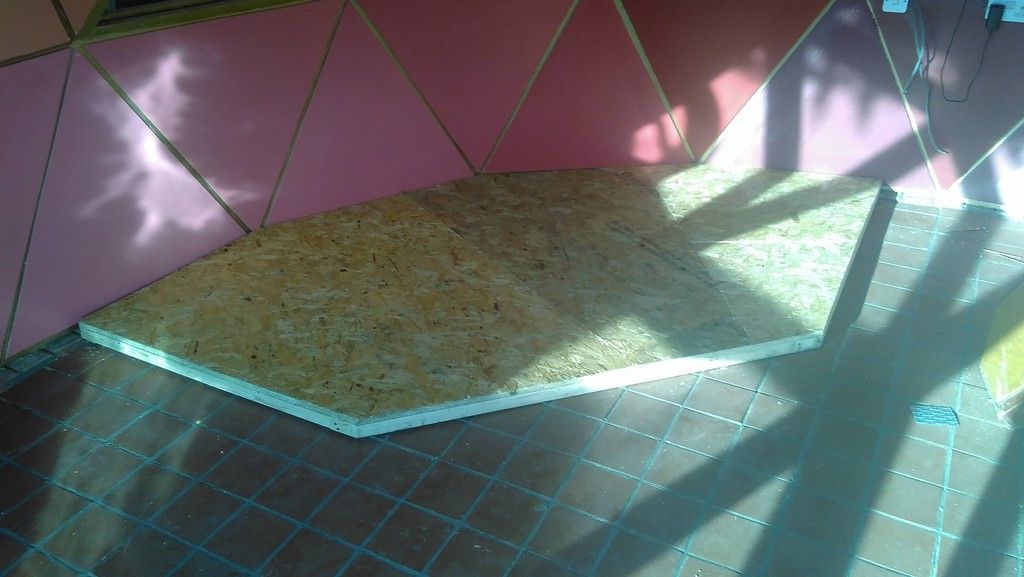
The space for the sleeping area. Hide being built next week. The hide will have a smaller dome on top to desire to redirect the heat from the ceramic bulbs into the enclosure, and will have a thermal heat mass on one side that should heat up in the daytime/evening to provide an extra bit of night-time heat.
I'll post up more pics of the build process if anyone is interested.")
I've been building a new home for my sulcatas as they have been getting a bit big to move indoors and out what with the irregularities and inconsistencies of the weather in the UK.
As I put on anther thread, my key considerations when building this were the cost of heating, the space I could give them, the access to natural UV light during the 9months of the year it is too cold for them to wander freely outside and it also had to be a nice place for us to visit them.
To this end I have gone for a geodesic dome design, which should hopefully cost a third less to heat, and also looks attractive in the garden.
I've made the frame for the main enclosure and have added underfloor heating, loads of insulation and have made the whole thing completely watertight. It's taken about 3 months to get it to this stage, building it from scratch, and I'm just about to finish the external work sometime later this week, when I add the roof shingles (which arrived yesterday).
Next week I start to get it prepped up for adding the tortoise equipment. So I'll be finishing off their sleeping hide and adding barriers to the lowest Windows so they can't see through.
I'll post up a few pictures as I move towards completion, and any advice you can give regarding things I should do to give the best environment I can would be most appreciated.
Anyway, here are a few pics of the dome as it currently stands.
A view from above
Front on
The inside in daytime
And the other way round....facing front.
The inside at night. Fibre optic stars give the dome a cool evening glow.
The space for the sleeping area. Hide being built next week. The hide will have a smaller dome on top to desire to redirect the heat from the ceramic bulbs into the enclosure, and will have a thermal heat mass on one side that should heat up in the daytime/evening to provide an extra bit of night-time heat.
I'll post up more pics of the build process if anyone is interested.