See the below threads for info on Rasputin and his outdoor garden:
Rasputin, the Sulcata Tortoise
Outdoor Enclosure for Rasputin, the Sulcata Tortoise
This weekend I began construction on what will hopefully be a very long-term insulated home for Rasputin. The exterior dimensions will be 4'x4'x2.5' built with a plywood, 2"x4"s, and 0.75" thick insulation (sandwiched to 1.5"). It probably won't be complete for a couple more weeks at least, but I'll be sure to provide updates here.
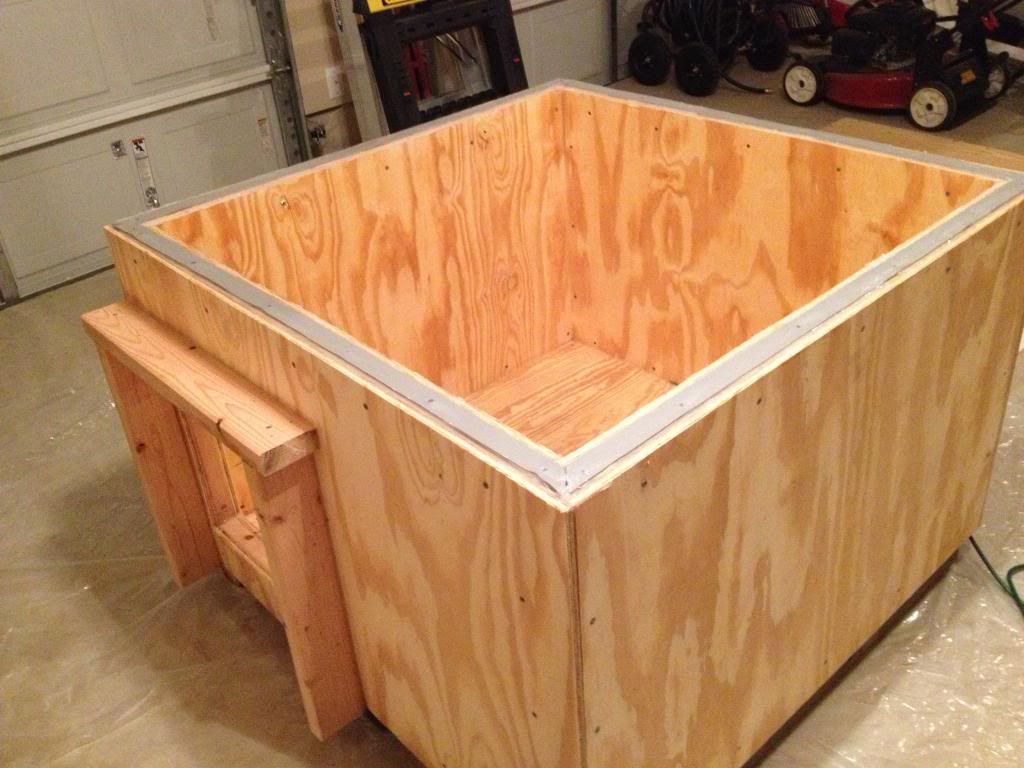
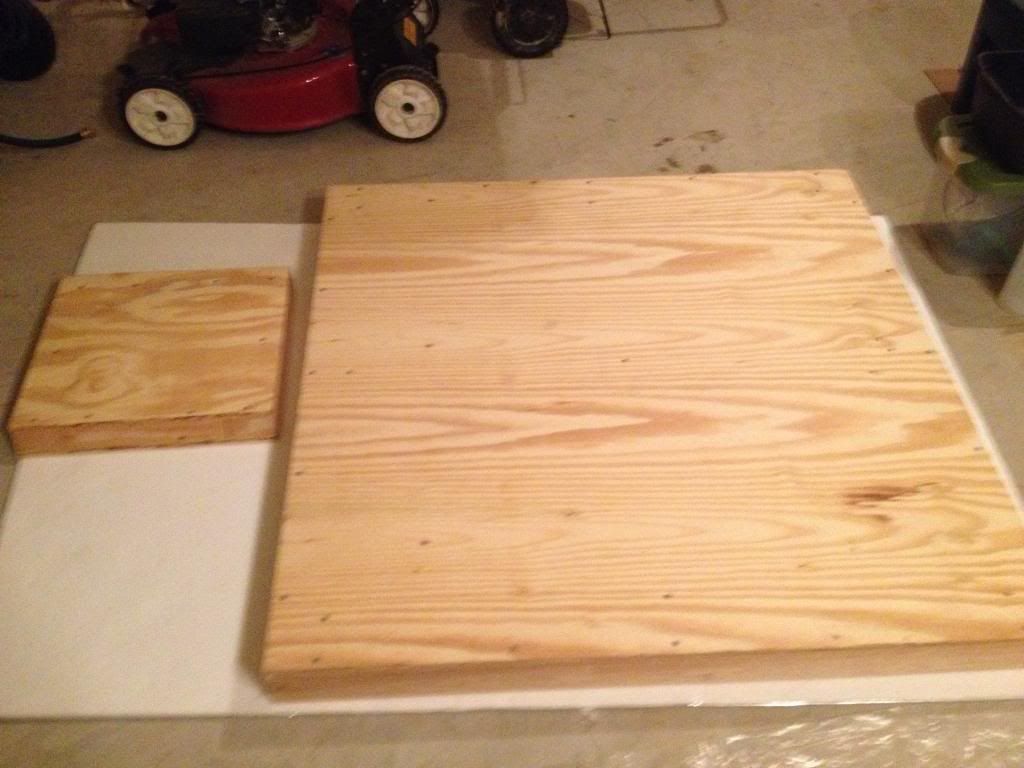
There is still plywood to be attached, a doorway to be cut, a door to be built, and various other items. I am going to hold off on painting/sealing until the end (except for areas that will be unreachable or difficult to reach once assembled).
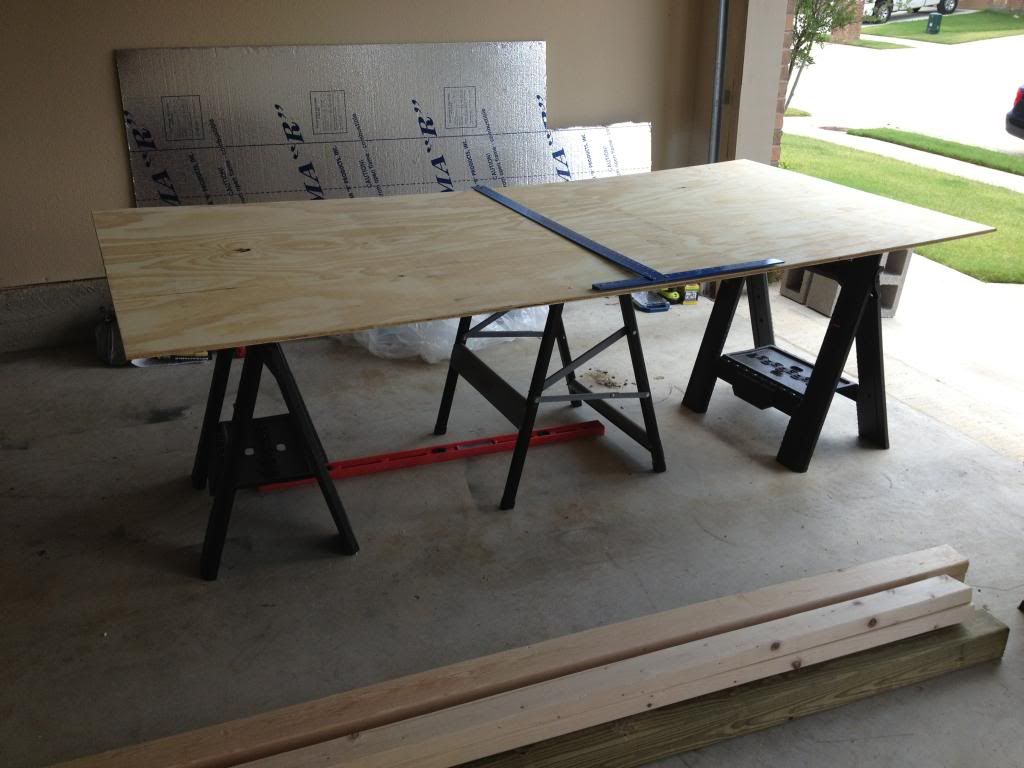
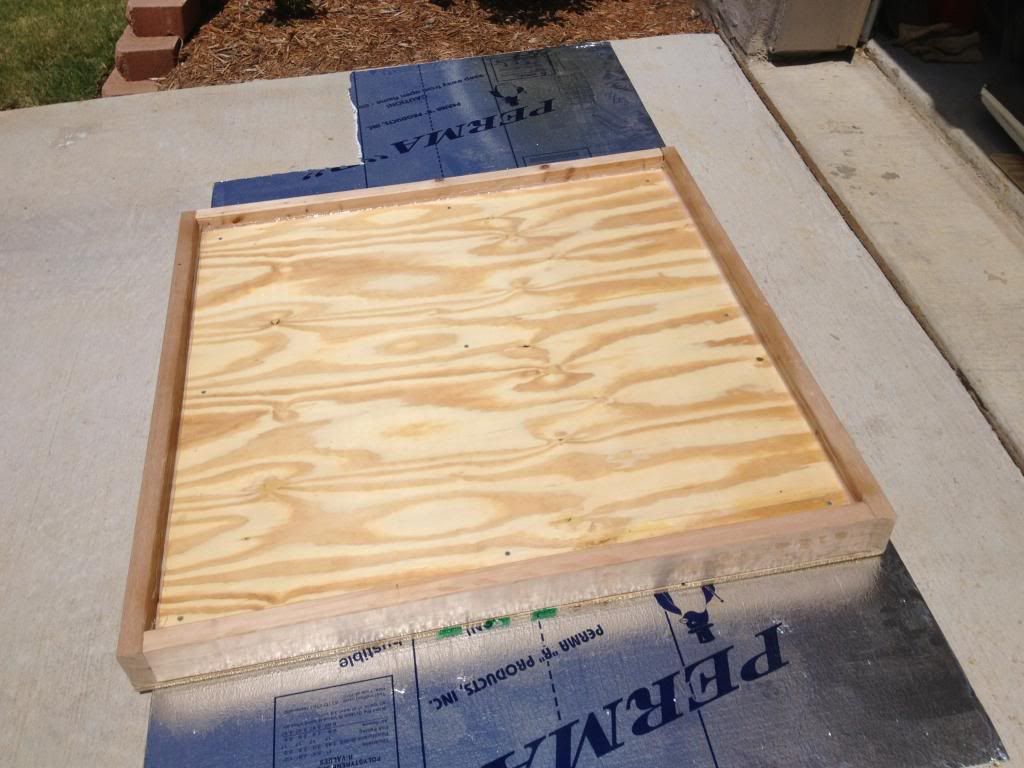
Just prior to the first cut.
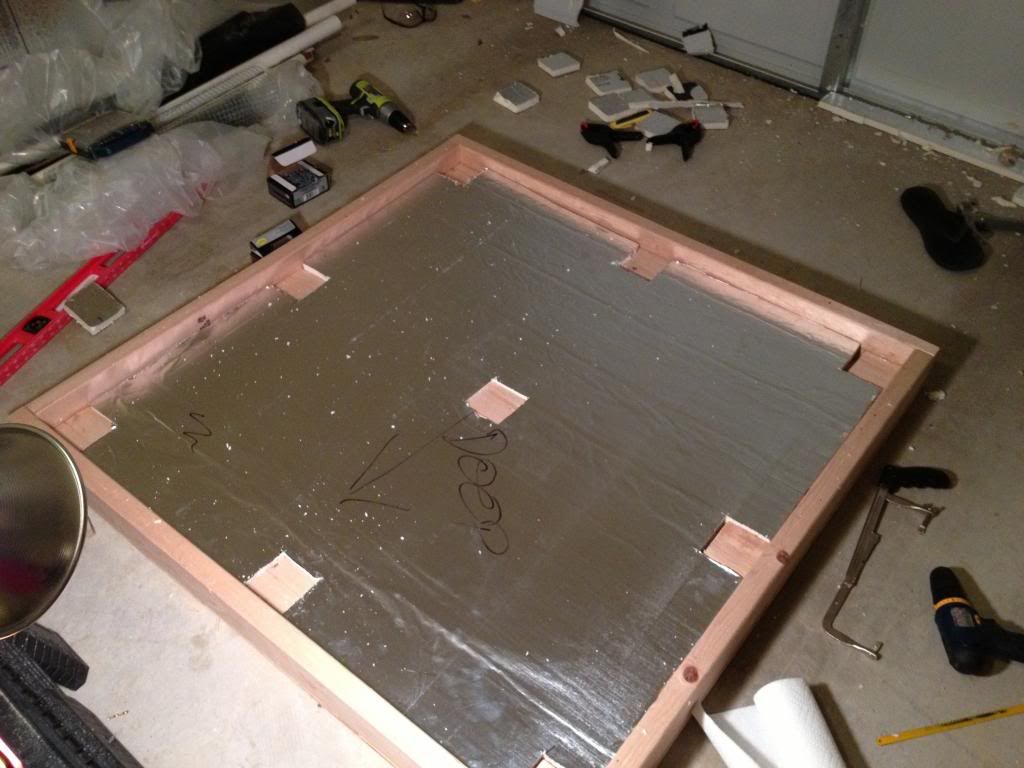
Putting the insulation into the lid. The 2"x4" cutouts are to ensure a very solid connection.
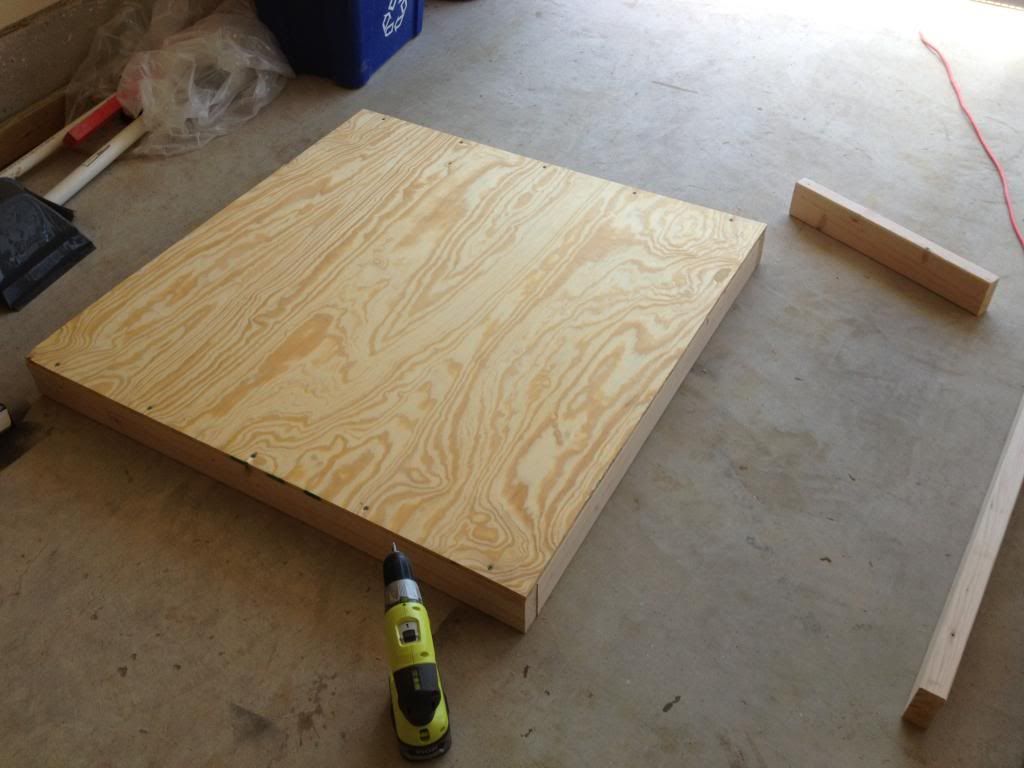
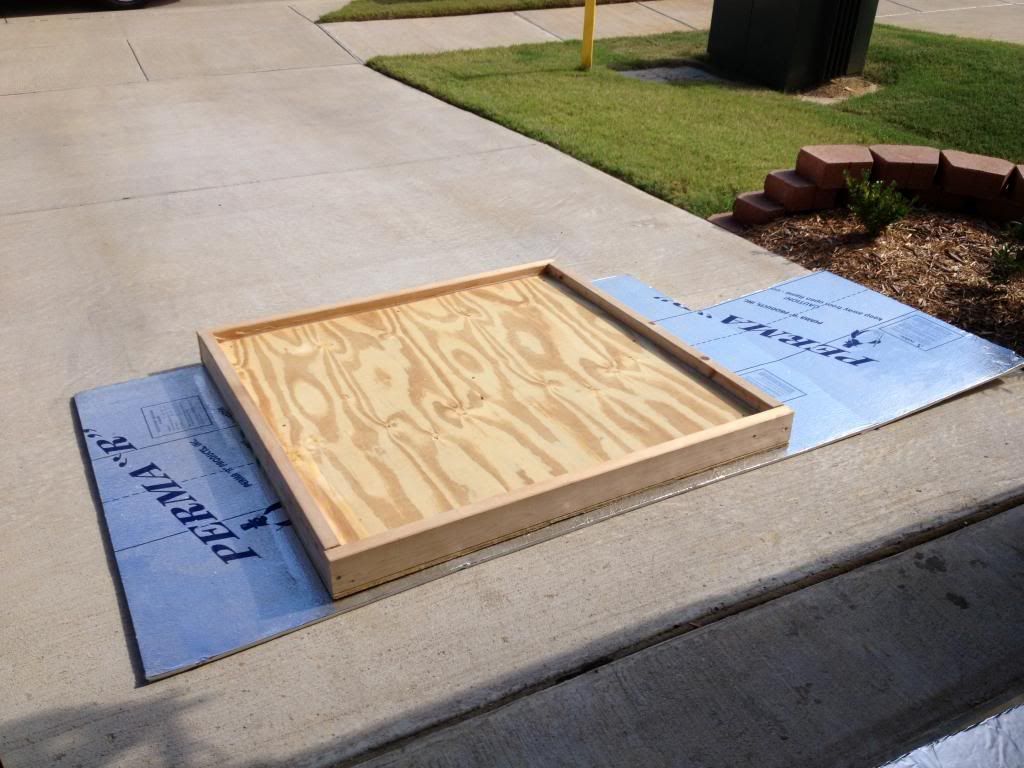
The top of the nearly completed lid.
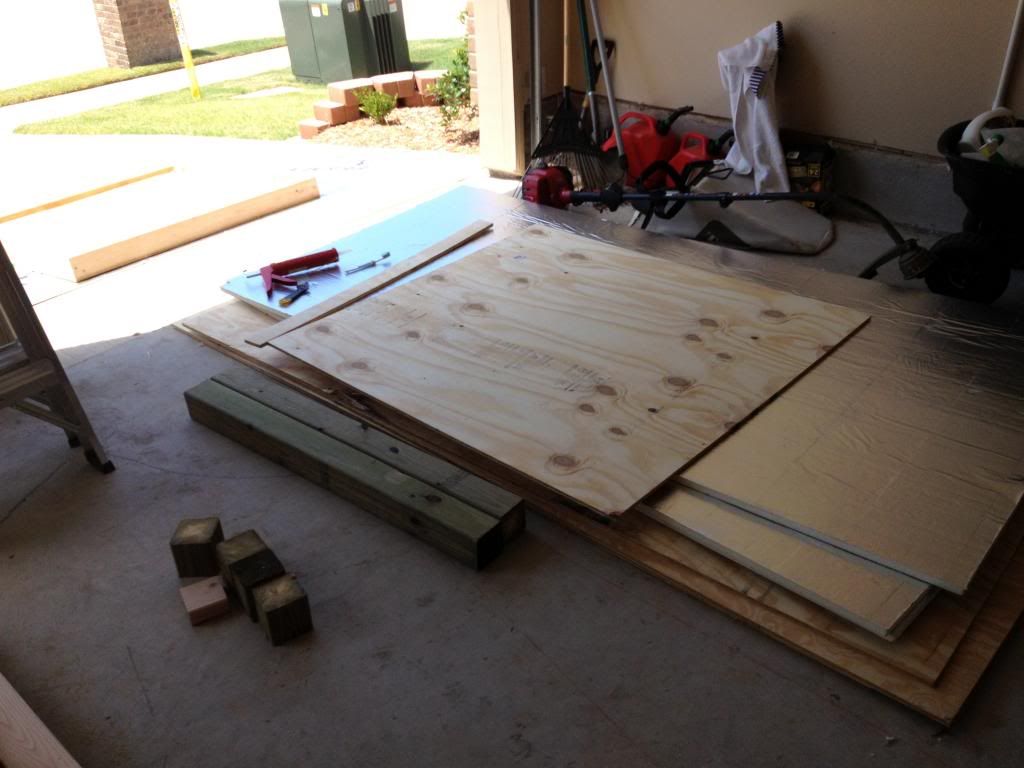
Just a stack of supplies waiting to be used and in the background the completed lid sitting just outside of the garage.
The completed lid. (Except paint/seal, but as mentioned above I will not be painting/sealing until the end of the project.)
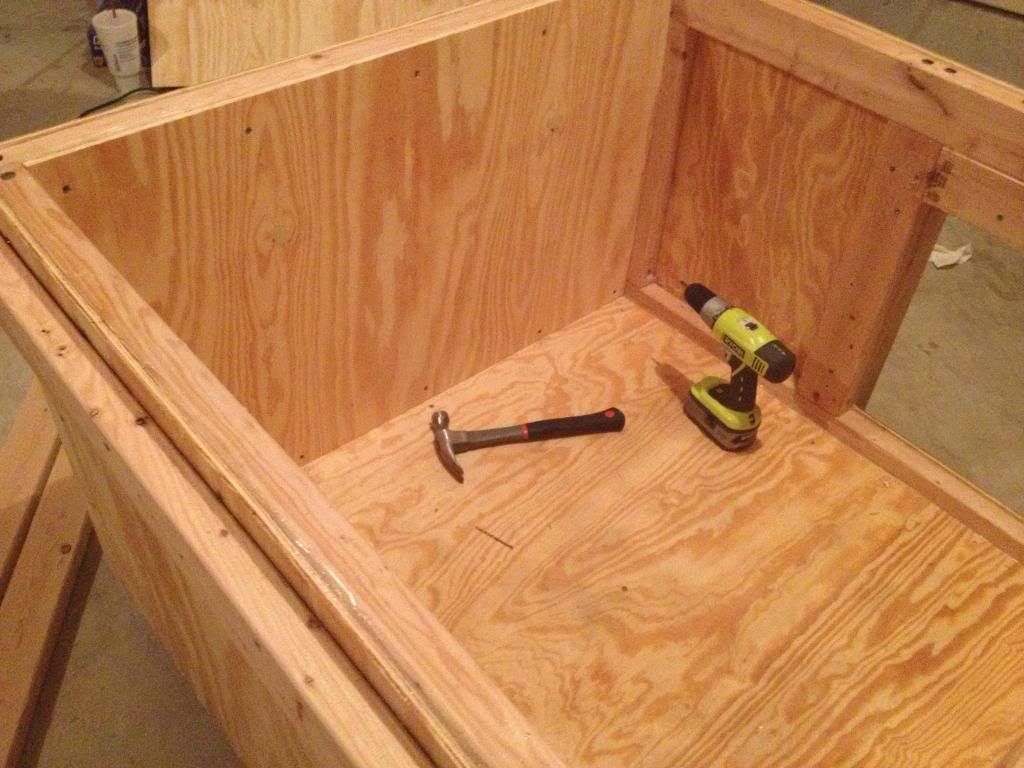
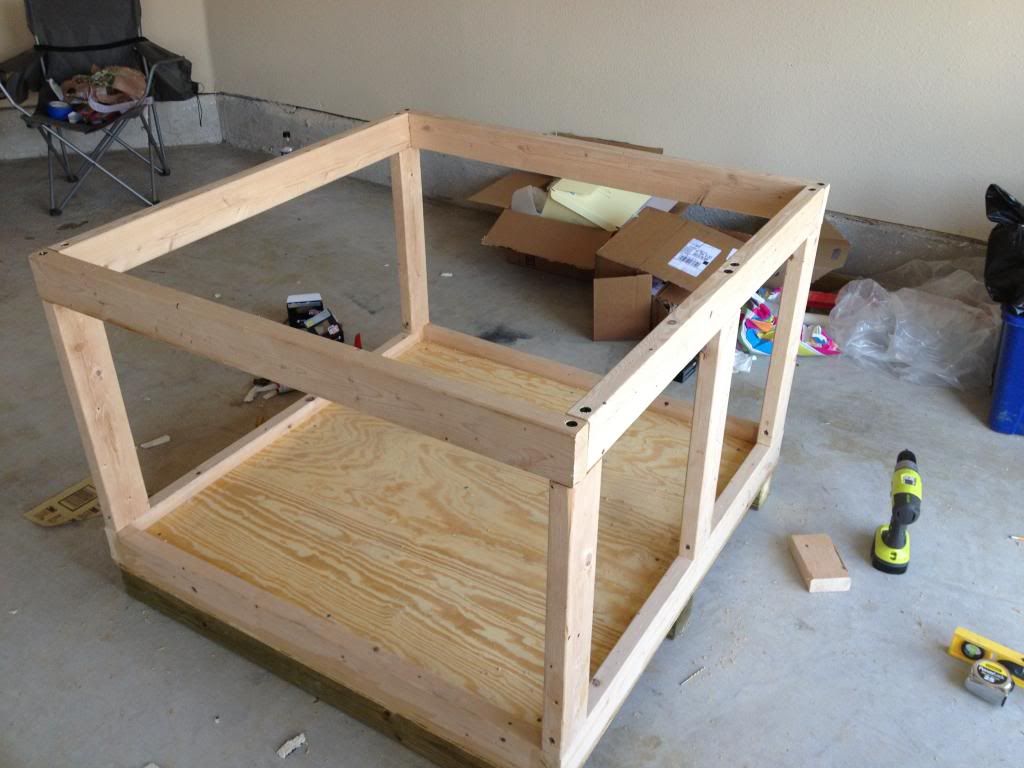
The framing nearing completion.
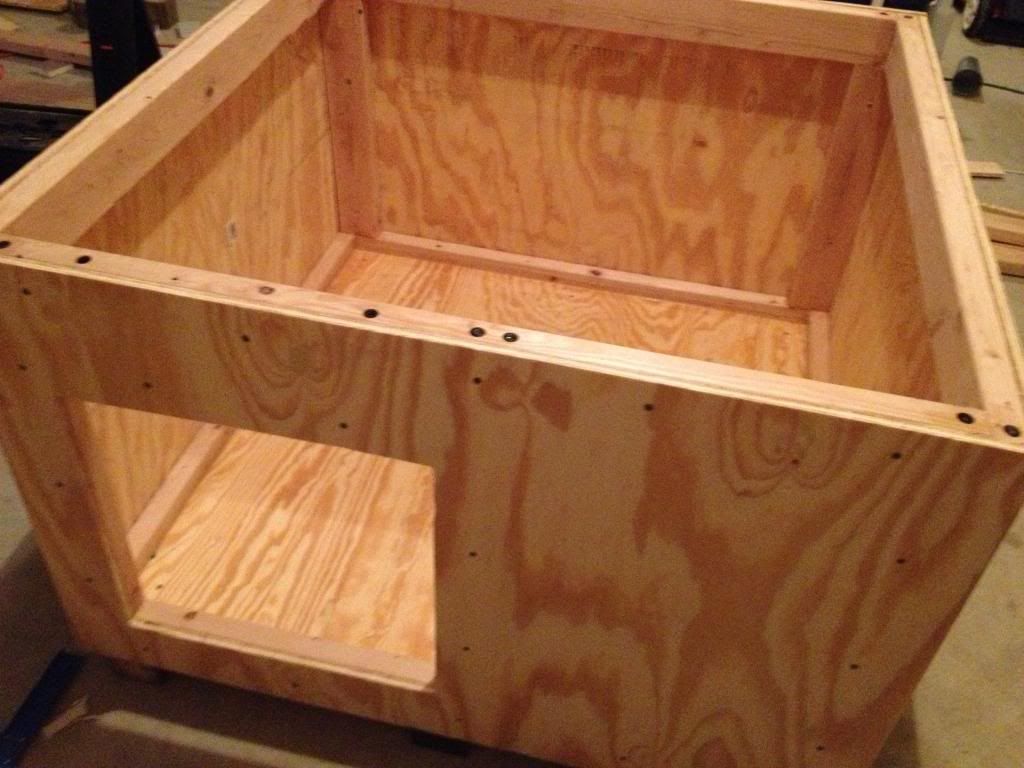
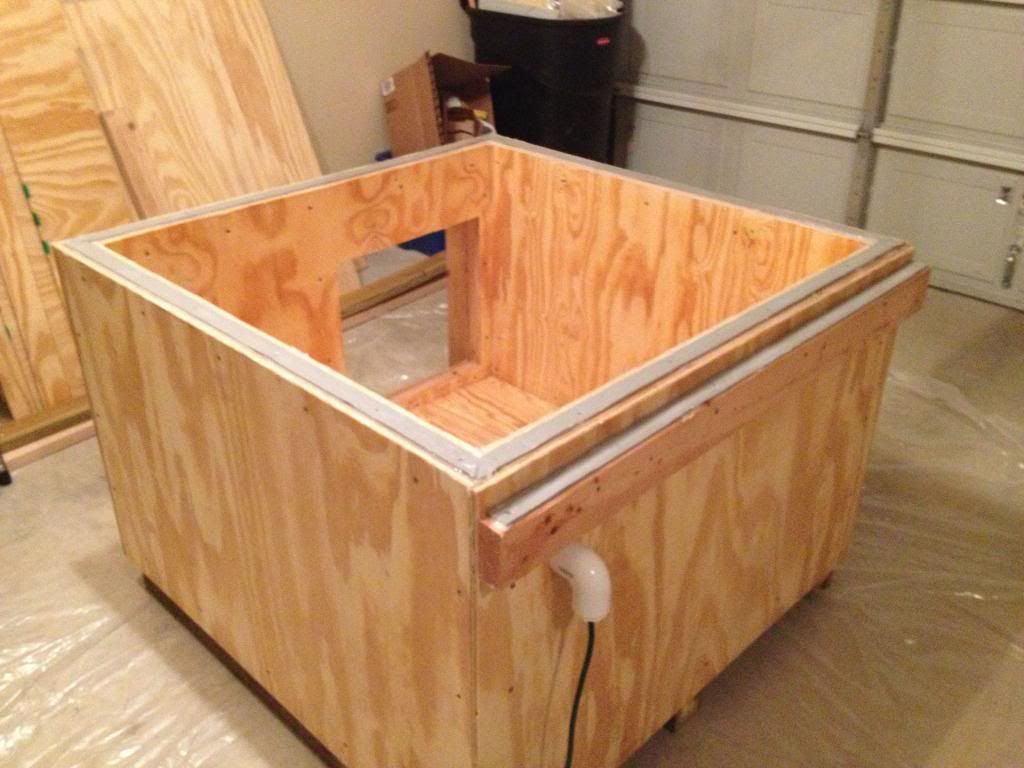
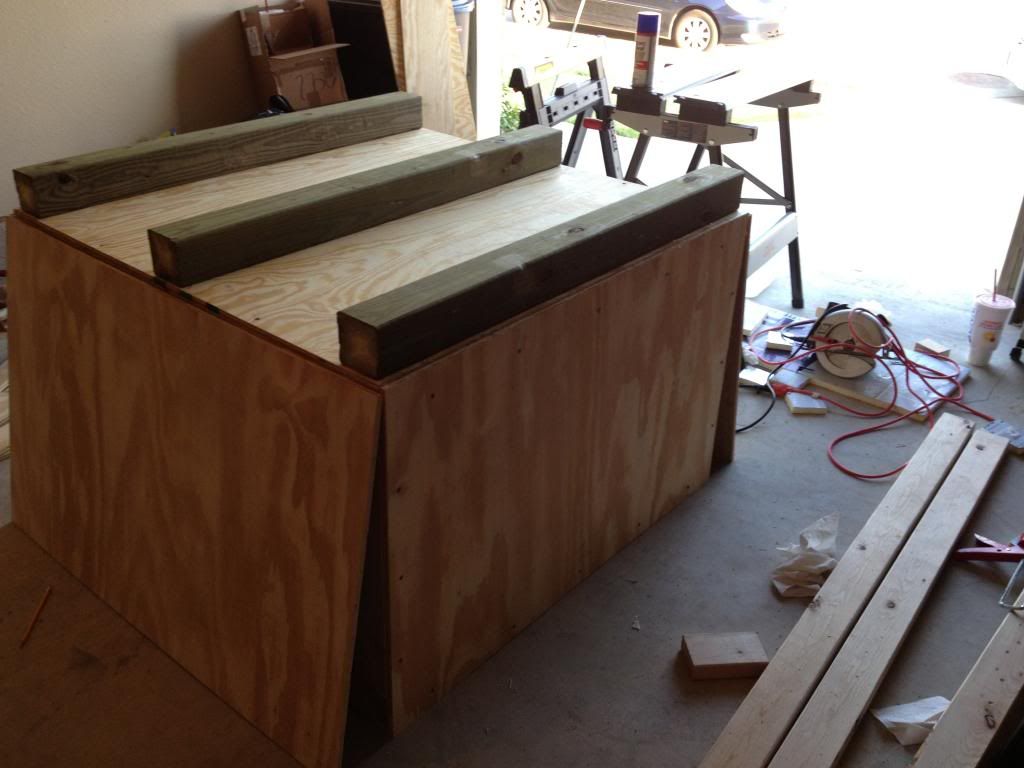
The frame with the exterior plywood sides attached. (Yes, it is upside down.) You can see the 4"x4" "skids" clearly.
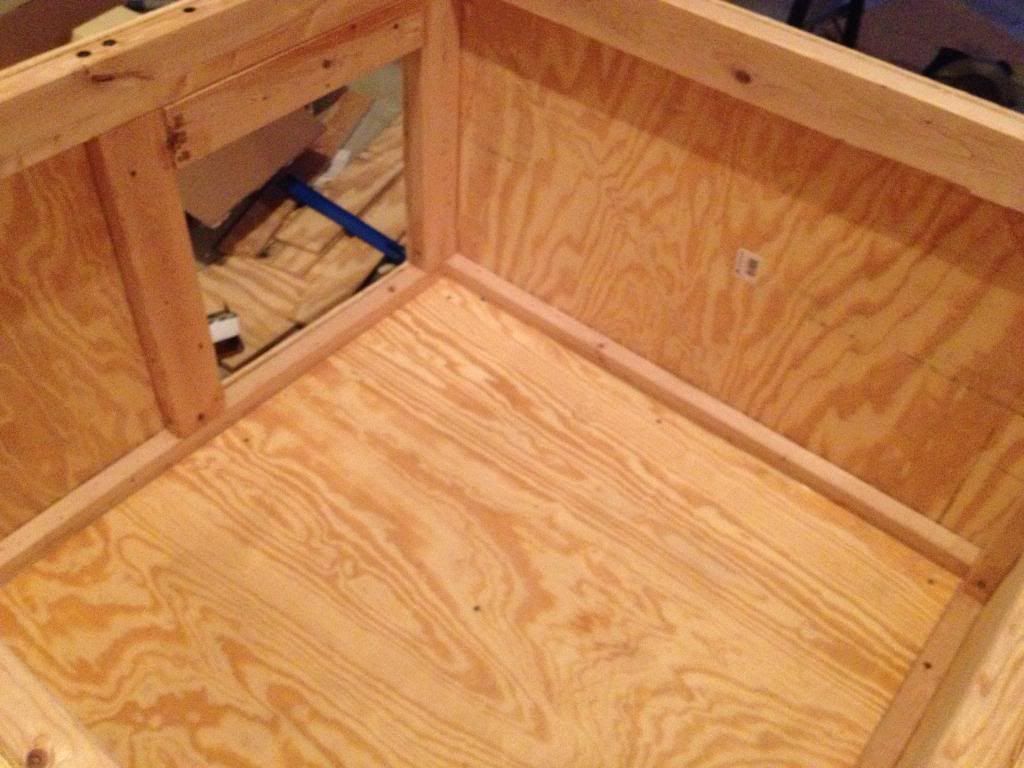
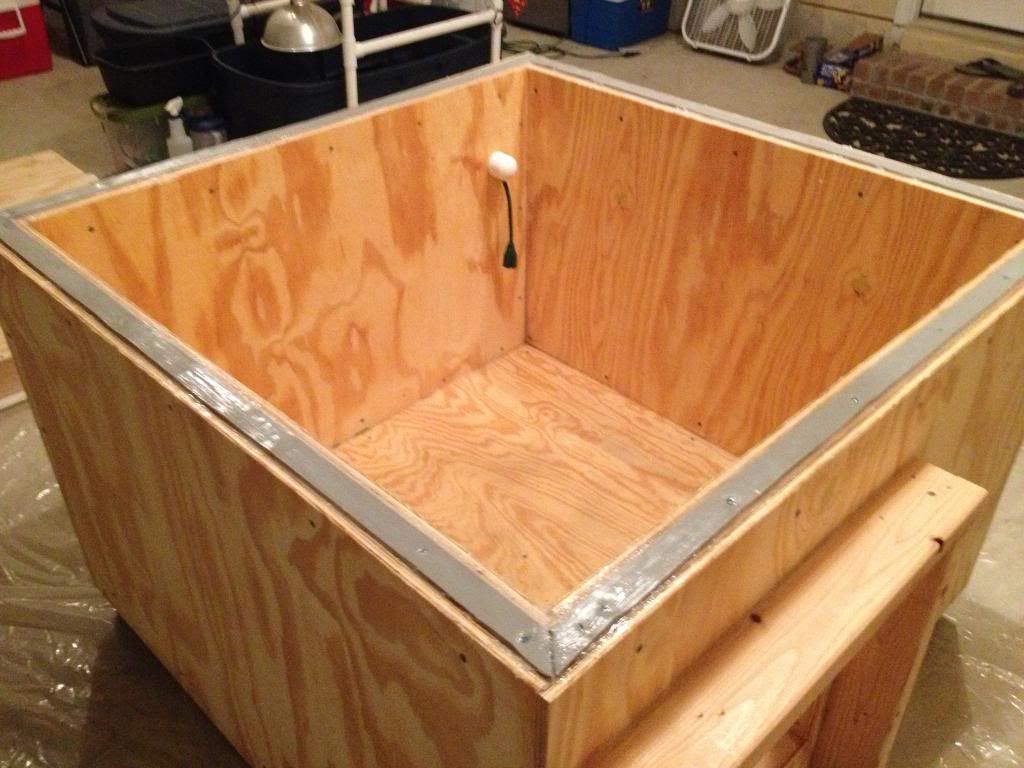
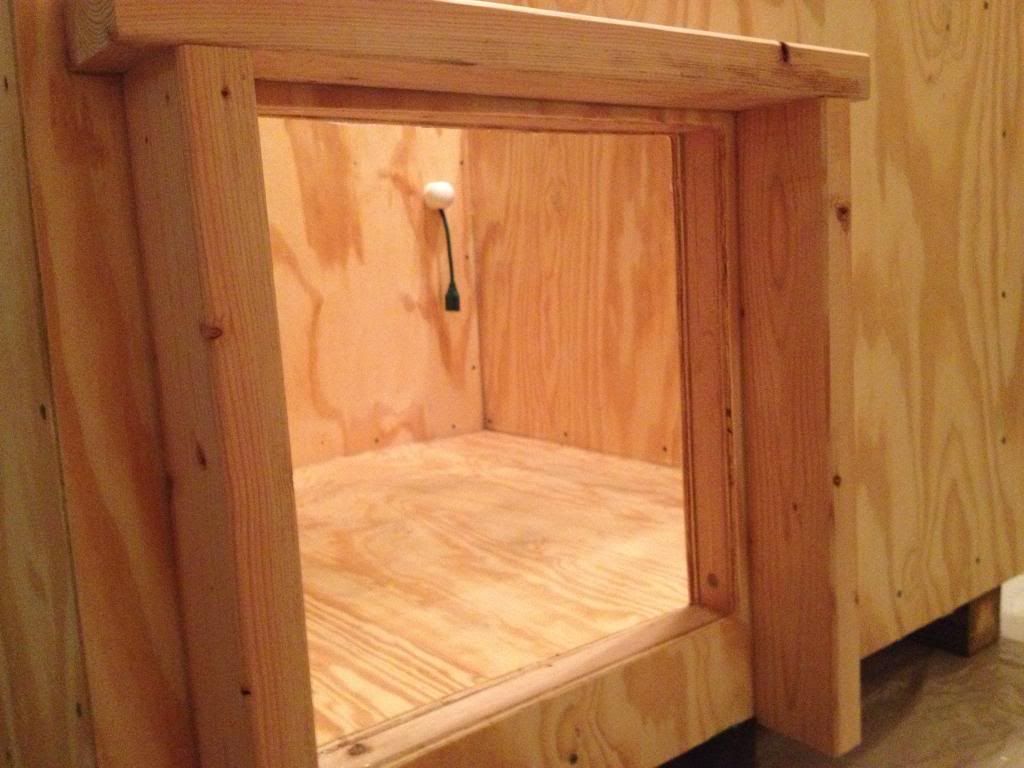
Inside the upside down frame showing where the door will be cut. (This is where we stopped for the day.)

It might be a week from now before additional work is completed, but I'll continue to provide updates.
Rasputin, the Sulcata Tortoise
Outdoor Enclosure for Rasputin, the Sulcata Tortoise
This weekend I began construction on what will hopefully be a very long-term insulated home for Rasputin. The exterior dimensions will be 4'x4'x2.5' built with a plywood, 2"x4"s, and 0.75" thick insulation (sandwiched to 1.5"). It probably won't be complete for a couple more weeks at least, but I'll be sure to provide updates here.
There is still plywood to be attached, a doorway to be cut, a door to be built, and various other items. I am going to hold off on painting/sealing until the end (except for areas that will be unreachable or difficult to reach once assembled).
Just prior to the first cut.
Putting the insulation into the lid. The 2"x4" cutouts are to ensure a very solid connection.
The top of the nearly completed lid.
Just a stack of supplies waiting to be used and in the background the completed lid sitting just outside of the garage.
The completed lid. (Except paint/seal, but as mentioned above I will not be painting/sealing until the end of the project.)
The framing nearing completion.
The frame with the exterior plywood sides attached. (Yes, it is upside down.) You can see the 4"x4" "skids" clearly.
Inside the upside down frame showing where the door will be cut. (This is where we stopped for the day.)
It might be a week from now before additional work is completed, but I'll continue to provide updates.
") Looks great. Can't wait to see the finished product.
Looks great. Can't wait to see the finished product.