130-gal Closed-Top Tank Progression Thread

Status
Not open for further replies.

StudentoftheReptile

Active Member
5 Year Member
Joined
Sep 8, 2011
Messages
1,705
Location (City and/or State)
Alabama
I recently adopted another redfoot (Thanks, jrcrist!), so since I made the decision that my juvenile sulcata can remain outside more or less permanently now, I am going to work towards re-doing my 130-gallon tank as larger accommodations for both of my juvenile redfoots.

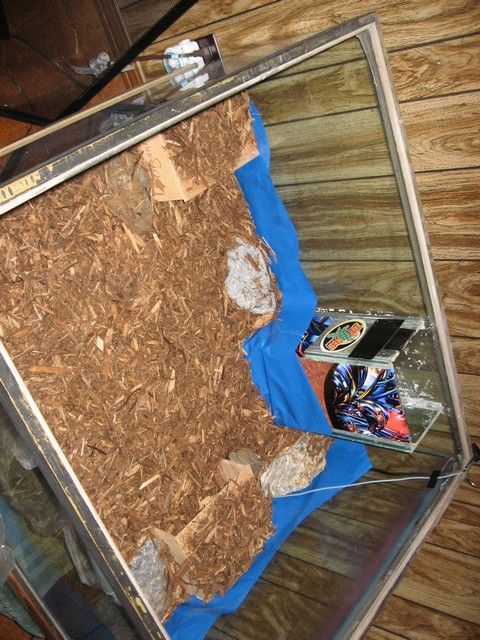
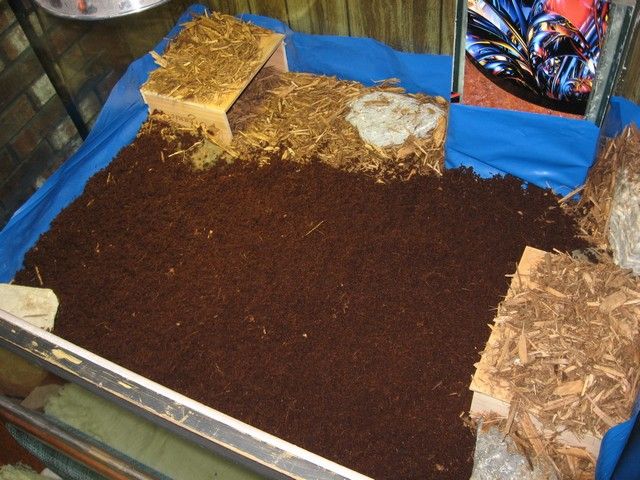
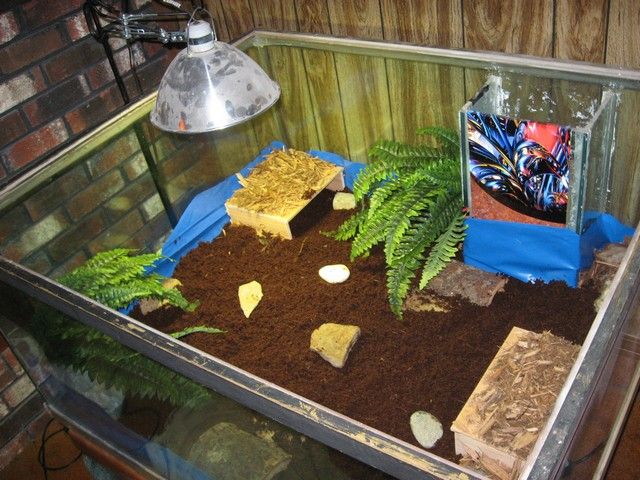
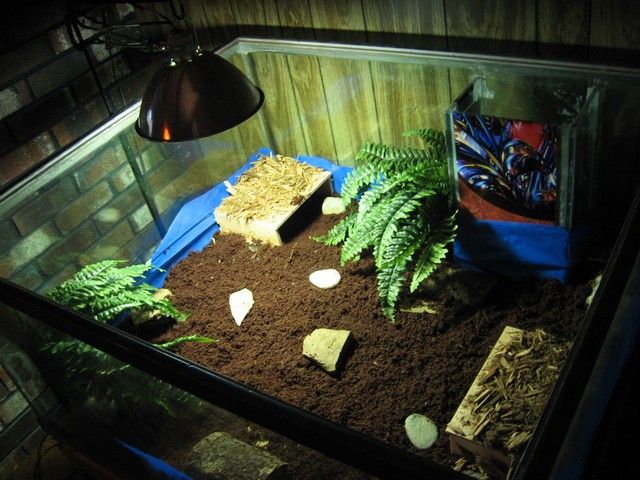
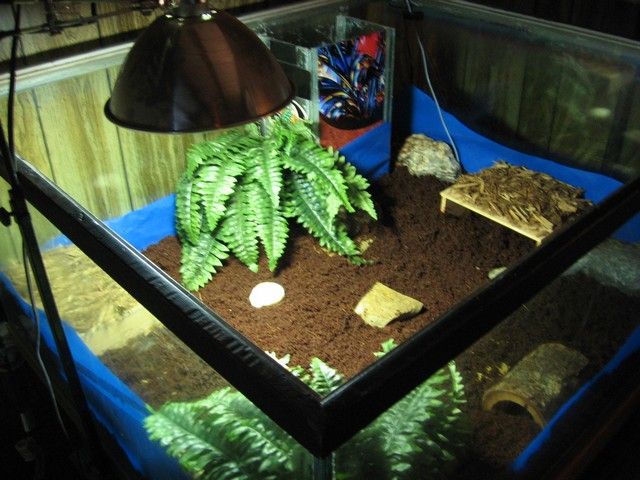
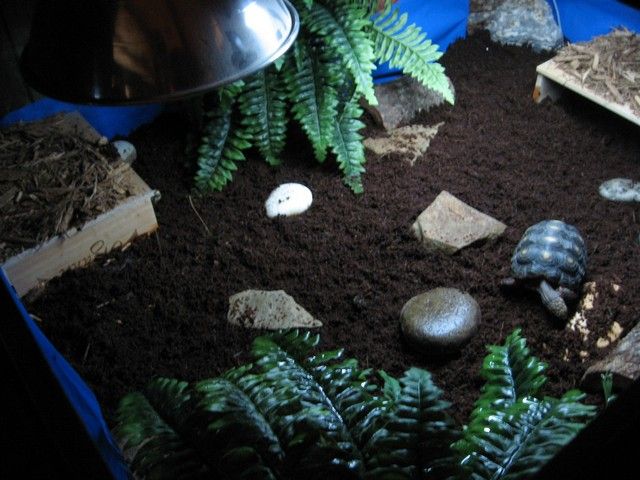
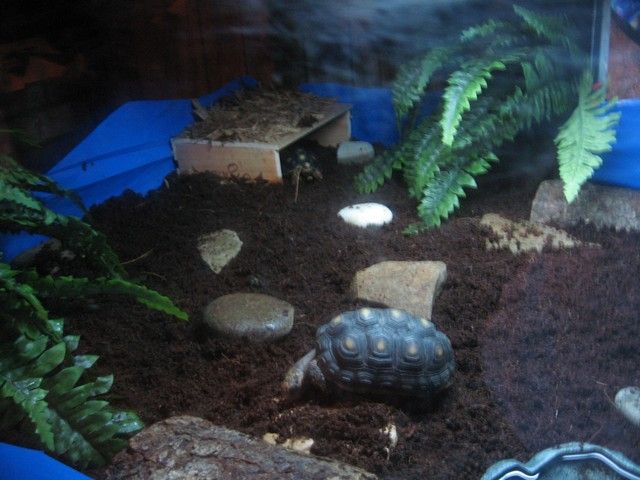
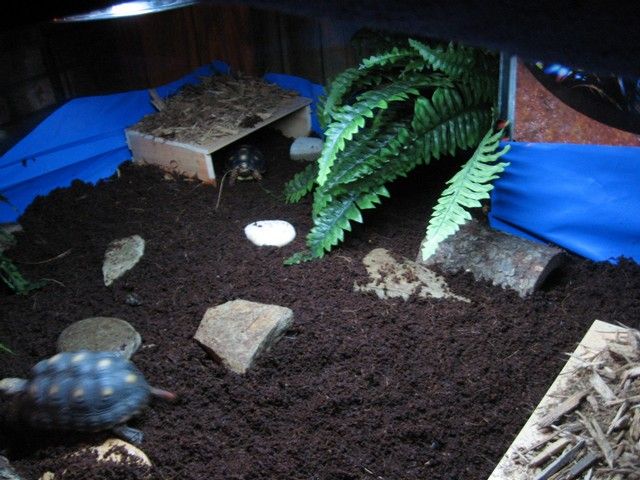
This was the previous set-up for Kobe the sulcata. Mainly just soil and mulch directly on the tank's bottom with lights above an open-top.

KobeNewSetUp_2.jpg

-------
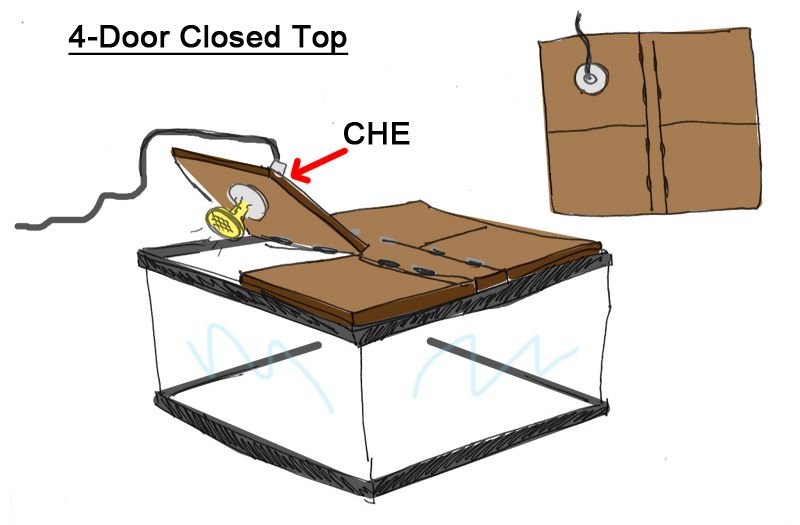
Some of you may have remembered previous threads of mine where I talked about constructing a new closed top for this tank, and I still definitely plan on doing that. I was working on a really cool 3-D model mock-up of what I was envisioning, but I am lazy and I can draw a lot faster than I can create 3-D models in Maya. Here is a rough idea of what I plan to do. I need to return the porcelain light socket I purchased and exchange it for something for outdoor lighting because someone suggested it would last longer and hold up to high humidity better.

blueprint_tanktop.jpg

------
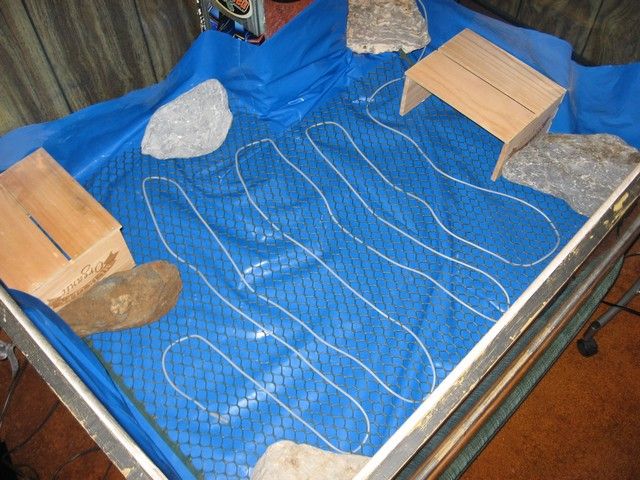
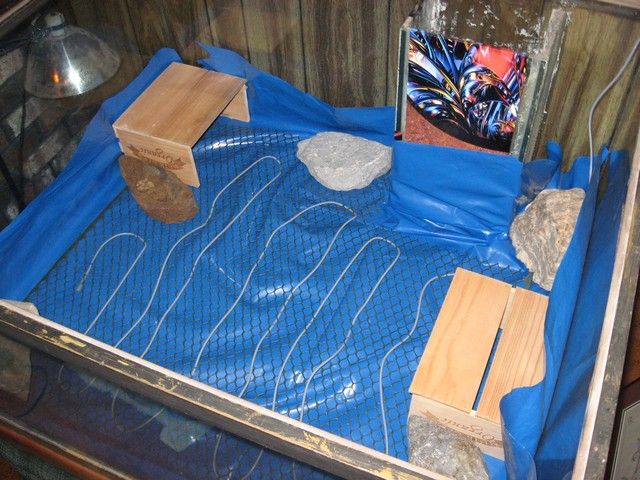
Right now though, I plan on working from the ground up for now, because I want to get the little guys moved over to more spacious living conditions as soon as possible because the tub is now a little crowded. Although my tank isn't quite as large, I am going for what Chris has illustrated out so well in this thread, with the heat rope underneath the substrate.

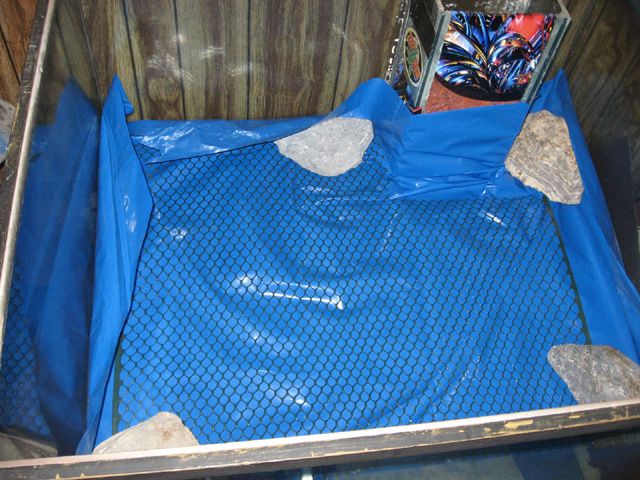
So this is what I got so far. An empty tank with tarp material on the bottom.
IMG_3292.jpg


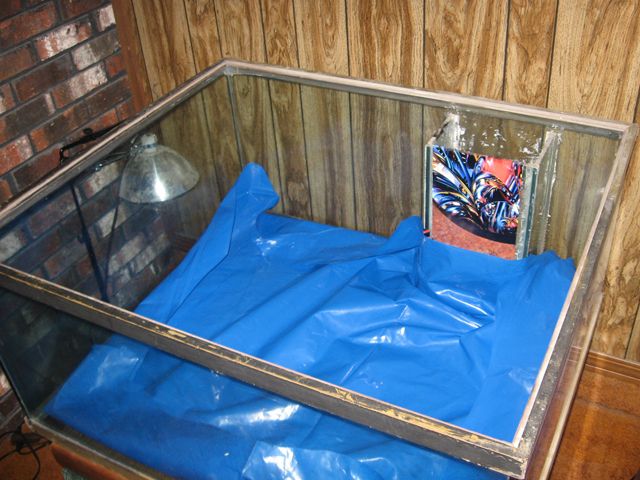
I believe my grandpa has some hardware cloth in his carport somewhere, so I'll be rummaging around there to look for it sometime this week. Waiting for some extra money to pop up so I can order the heat rope from Big Apple and then I'll be able to get things rollin'.
 

terryo

Well-Known Member
10 Year Member!
Joined
Aug 24, 2007
Messages
8,975
Location (City and/or State)
Staten Island, New York
That's going to be fantastic when you're finished. What kind of tank is that? Is it a breeder tank. I never saw a 130 gal square like that. I love it.
 

StudentoftheReptile

Active Member
5 Year Member
Joined
Sep 8, 2011
Messages
1,705
Location (City and/or State)
Alabama
terryo said:
What kind of tank is that? Is it a breeder tank. I never saw a 130 gal square like that. I love it.

It's certainly not a standard size. It was probably a custom tank built specifically as a fish aquarium; hence the overflow box on the side (see my third photo...its covered up with stickers!). At the bottom of that box are two drilled holes that would connect piping to a sump below the aquarium.

Anyway, a friend of mine gave me this tank 4-5 years ago for free. Aside from that pesky overflow box, it is a GREAT size for medium-sized reptiles. Although I've more or less grown past using glass tanks for herps, I'm never getting rid of it, as I'm sure I'll always find a use for it!

Dimensions are 42" long x 36" wide x 20" high (I think...not sure on the height, but its not as important to me as the other two).
 

Jacob

New Member
5 Year Member
Joined
Apr 3, 2011
Messages
3,145
Location (City and/or State)
California
Very Nice, I like you layout Plans.
Did you draw it by hand on the computer?
 

StudentoftheReptile

Active Member
5 Year Member
Joined
Sep 8, 2011
Messages
1,705
Location (City and/or State)
Alabama
Jacob said:
Very Nice, I like you layout Plans.
Did you draw it by hand on the computer?

I doodled it hastily by hand a couple nights ago, and then just added some color in Photoshop.
 

StudentoftheReptile

Active Member
5 Year Member
Joined
Sep 8, 2011
Messages
1,705
Location (City and/or State)
Alabama
Step #2:

I got a roll of this stuff from my grandpa. For the life of me, I cannot recall the term for it, but people use it wrap around plants and gardens as a barrier for pest animals. Made out of plastic. It isn't hardware cloth, but I think it'll work just fine for my purposes.

Cut out an appropriately-sized piece and placed in it the bottom, and went ahead and put the base rocks in the corners to support the tarp lining.

IMG_3293.jpg


Next week, I'll be ordering the heat rope! :D
 

StudentoftheReptile

Active Member
5 Year Member
Joined
Sep 8, 2011
Messages
1,705
Location (City and/or State)
Alabama
It has cracks on the bottom. Plus, in the event of replacing the substrate, it will be easier to just remove the plastic wire with the heat cable, then take out the liner...as opposed to scooping it all out of the tank directly.
 

GeoTerraTestudo

Active Member
5 Year Member
Joined
May 7, 2011
Messages
3,311
Location (City and/or State)
Broomfield, Colorado
Looks great. Nice diagram, too. Although, for my enclosures, I hang my CHEs from ZooMed armatures, which have an adjustable height. I think this is an important feature, because it allows me to raise or lower the CHE to achieve the right basking spot temperature. It also allows me to keep the enclosure open so air can circulate freely.
 

Tom

The Dog Trainer
10 Year Member!
Platinum Tortoise Club
Joined
Jan 9, 2010
Messages
63,483
Location (City and/or State)
Southern California
Why not cut the silicone with a razor and remove the overflow? You could then patch the holes with some silicone and either glass or rigid plastic sheeting. While you are at it, you could patch the cracks on the bottom and keep them from breaking further.

I love the idea of hinges on the top and mounted fixtures.

GTT, air circulation is the enemy in a case like this. He's trying to create a warm humid stable environment and air circulation will circulate the warmed humidified air right out into the room and replace it with cooler dry air from the room. And given the Student's level of expertise with reptiles, I'm sure he'll be controlling temps, by either adjusting the wattage of his bulbs, using a thermostat, or using a rheostat.
 

StudentoftheReptile

Active Member
5 Year Member
Joined
Sep 8, 2011
Messages
1,705
Location (City and/or State)
Alabama
Tom said:
Why not cut the silicone with a razor and remove the overflow? You could then patch the holes with some silicone and either glass or rigid plastic sheeting. While you are at it, you could patch the cracks on the bottom and keep them from breaking further.

I actually have tried to slice out that overflow box. My efforts barely made a dent in the problem, and I just decided it wasn't worth the time and energy.

I could patch the cracks, but I already stated my reasons for having the tarp in there, so again, the time/energy put forth into patching the cracks and having the substrate directly on the glass bottom isn't worth the advantages of the tarp.

GTT, air circulation is the enemy in a case like this. He's trying to create a warm humid stable environment and air circulation will circulate the warmed humidified air right out into the room and replace it with cooler dry air from the room. And given the Student's level of expertise with reptiles, I'm sure he'll be controlling temps, by either adjusting the wattage of his bulbs, using a thermostat, or using a rheostat.

Yeah pretty much. ;) And in response to GTT, constructing this door on my own, heck, I can always install my own little fan to add some circulation if I feel its needed. But Tom is right, the whole purpose is to keep all that warm, moist air IN the enclosure!
 

StudentoftheReptile

Active Member
5 Year Member
Joined
Sep 8, 2011
Messages
1,705
Location (City and/or State)
Alabama
UPDATES! Last week, my heat cable and rheostat came in so Saturday I was finally able to resume this little project.

I took the heat cable and just ran it through the hardware cloth stuff to keep it in place. I also placed the huts where I wanted them.
IMG_3299.jpg

IMG_3300.jpg


Next, I started adding the cypress mulch on top. [sorry for the sideways image. The original wasn't that way. I don't know why Photobucket uploaded it like that..grrr]
IMG_3302.jpg


Then, I placed a generous layer of coconut coir on top of the cypress.
IMG_3303.jpg


Now for the really fun part! Adding the decorations and stuff!
IMG_3304.jpg

IMG_3305.jpg

IMG_3306.jpg


I originally was going to just leave the Mercury Vapor Bulb on there (see photos above), but I decided it was a little too bright, and I didn't have a way to add an extra lamp for the CHE at night, so I took off the MVB and just put in the tube florescent UVB and the CHE from their old enclosure. This way I can just leave the CHE on 24/7 to make sure they don't get too cold at night.
IMG_3317.jpg

IMG_3318.jpg

IMG_3319.jpg


I still haven't started building the custom top, but I'm happy I've gotten it to a point where I could finally move them into it. I got a beach towel covering most of it (don't worry, it's not close to that heat lamp), and I'm pretty satisfied with the temps and humidity so far.

Basking temps (directly under CHE): 120'F
Ambient Daytime Temp: 80-82'F
Ambient Nighttime Temp: 79-80'F
Coolest area: 75-77'F

The heat cable keeps the substrate at about 77-80'F.
 

KimandKarasi

New Member
5 Year Member
Joined
May 13, 2012
Messages
294
Location (City and/or State)
Houston, Texas
Very nicely done!! I was just curious, what size rope are you using? You convinced me to get my own! Lol, substrate temps were the one thing I was really having trouble with since I would always spray water to keep it humid (even if I used warm water it would always go cold within five minutes..) also, does it help keep the water bowl warm?
 

StudentoftheReptile

Active Member
5 Year Member
Joined
Sep 8, 2011
Messages
1,705
Location (City and/or State)
Alabama
KimandKarasi said:
Very nicely done!! I was just curious, what size rope are you using? You convinced me to get my own! Lol, substrate temps were the one thing I was really having trouble with since I would always spray water to keep it humid (even if I used warm water it would always go cold within five minutes..) also, does it help keep the water bowl warm?

I used the 18 ft rope, They also sell it in a 12 ft. and 27 ft as well. - http://www.bigappleherp.com/Big-Apple-Flexible-Heat-Ropes
 
Status
Not open for further replies.
Top