Hey guys ,
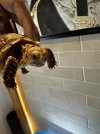
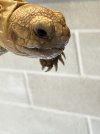
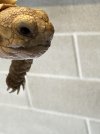
I have observed some bubbles on my baby Sulcata’s nose last night , I found some bubbles being formed in the morning after soak , just now in the evening I have captured this photos please take a look .
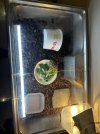
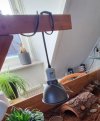
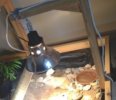
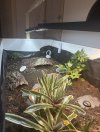
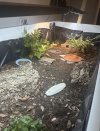
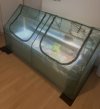
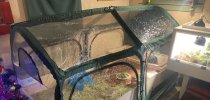
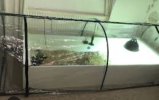
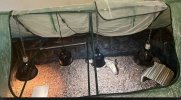
For context : the substrate is oak wood bark , the temps are basking :115 , warm side : 95 , cool side (near hide) : 87 , I am feeding him mulberry leaves , hibiscus leaves and bunch of weeds from garden .
Please help , I am from India , there is no vet here who has knowledge around tortoises .
I have observed some bubbles on my baby Sulcata’s nose last night , I found some bubbles being formed in the morning after soak , just now in the evening I have captured this photos please take a look .
For context : the substrate is oak wood bark , the temps are basking :115 , warm side : 95 , cool side (near hide) : 87 , I am feeding him mulberry leaves , hibiscus leaves and bunch of weeds from garden .
Please help , I am from India , there is no vet here who has knowledge around tortoises .